How to do a Turkish get-up: every stage from the floor to standing and back
The Turkish get-up takes you from lying on your back to standing and back down, with one arm locked straight overhead the whole way. It looks complicated, but it's a chain of simple stages: roll to your elbow, push up to your hand, lift your hips, sweep your leg back to kneel, and stand. Learn the stages with no weight, then with a shoe balanced on your fist, before you pick up a bell.
The research on the get-up itself is thin: one study of muscle activity in 12 experienced people, an unpublished thesis, and a few small trials of programmes that also included swings. No trial has tested the get-up on its own, so its benefits are plausible rather than proven.
This guide breaks the get-up into its stages with a 3D demo, and covers getting the bell up and down safely, the half get-up, lunge-style and squat-style finishes, how to choose a bell, how to bail, and how to look after your shoulder.
Roll to your elbow, post to your hand, bridge your hips, sweep your leg back to kneel, come upright and stand, then reverse every stage, as the American Council on Exercise (ACE) teaches it. Your eyes stay on the weight.
One EMG study (electromyography: sensors on the skin that measure muscle activity) of 12 experienced people found that the shoulder muscles of both arms work, hardest during the roll up to the elbow and the leg sweep. No trial has tested the get-up on its own.
ACE has you lie on your side, grip the bell with both hands and roll onto your back to press it up; put it down by reversing that, never one-handed. And decide your bail before every rep: if your arm bends or wavers, steer the bell away and move the other way.
Start with no weight, then a light bell, usually one or two sizes below your swing bell, as our kettlebell plan says. A dancer study started women at 8 kg and men at 12 kg.
Never to fatigue, as our move page says. ACE starts with sets of 2 to 4, and a 5-month dancer trial did 10 get-ups a session, 5 each side, alongside swings.
A get-up is a slow, controlled way of getting from the floor to standing while holding a weight overhead in one hand. The arm holding the weight stays straight and vertical throughout, and your body moves underneath it. Each stage is a position you pass through and briefly hold, so it trains your shoulder, trunk and hips to work together in many positions.
It's a skill exercise more than a strength builder: you do a few slow single reps, never to fatigue. Along the way, it practises something useful in its own right: getting down to the floor and back up.
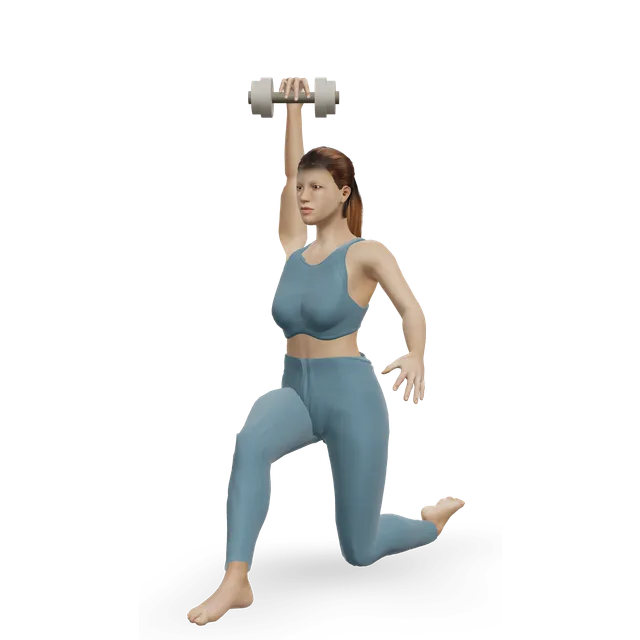
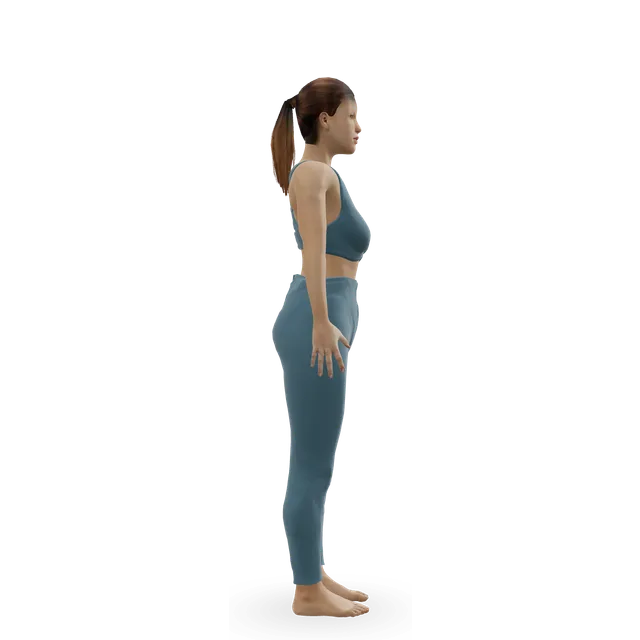
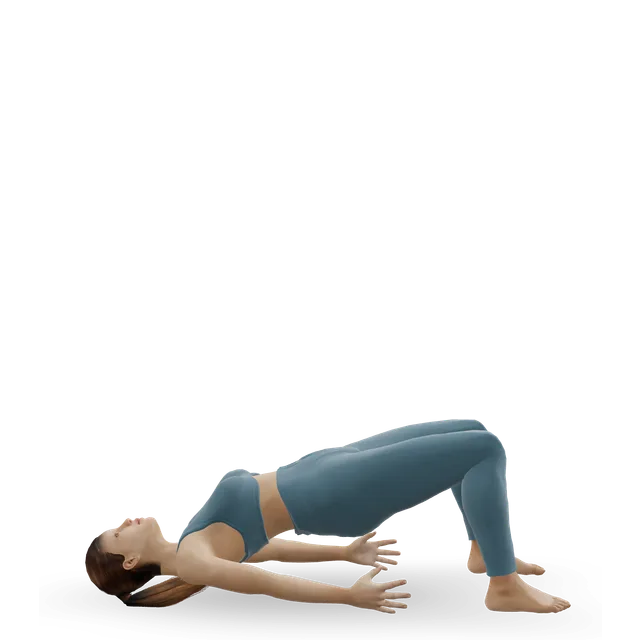
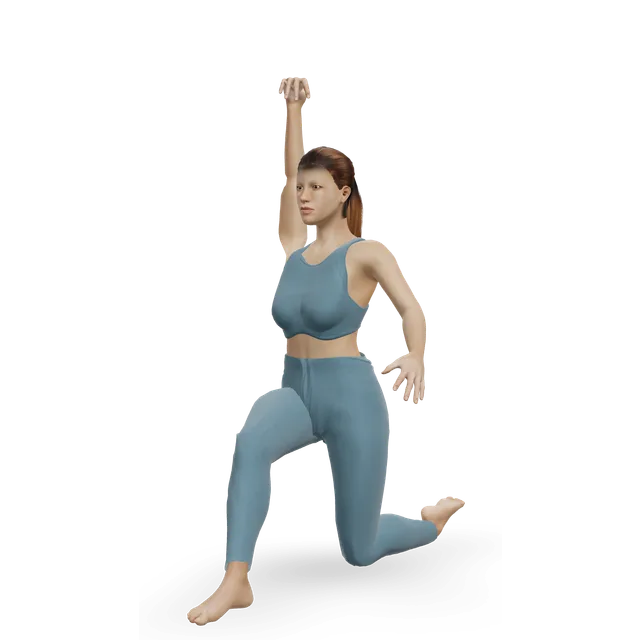
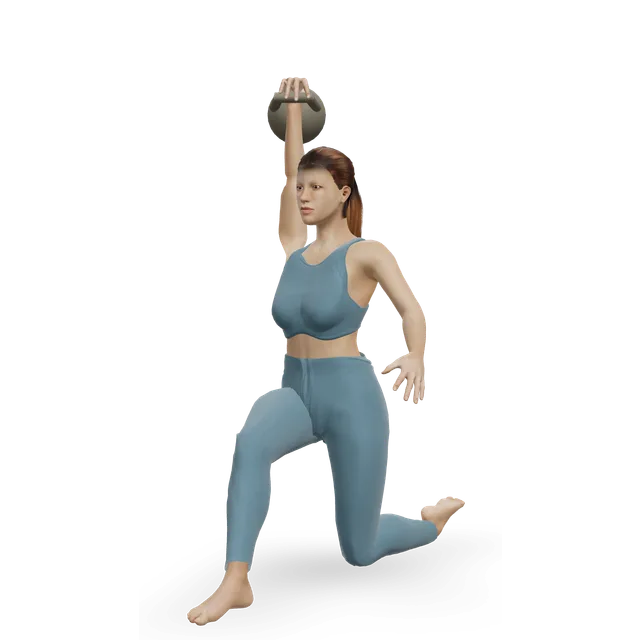
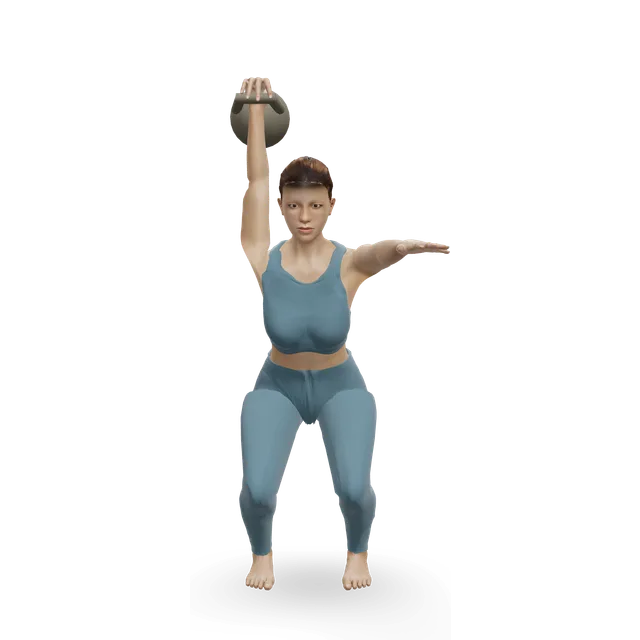
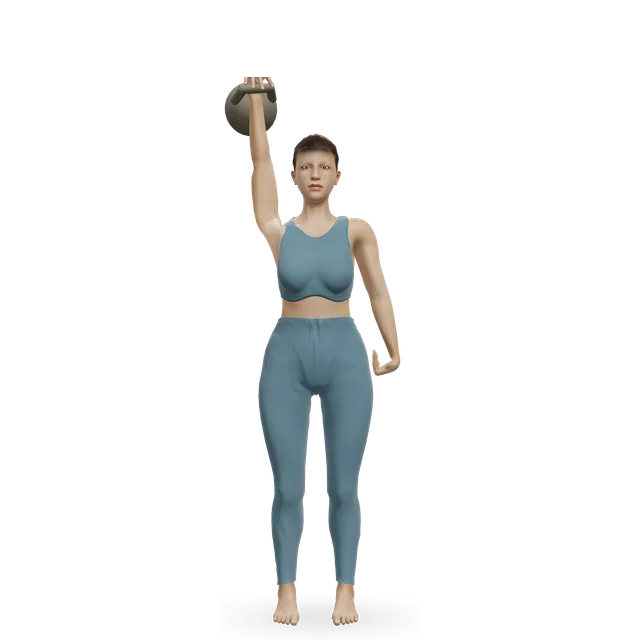
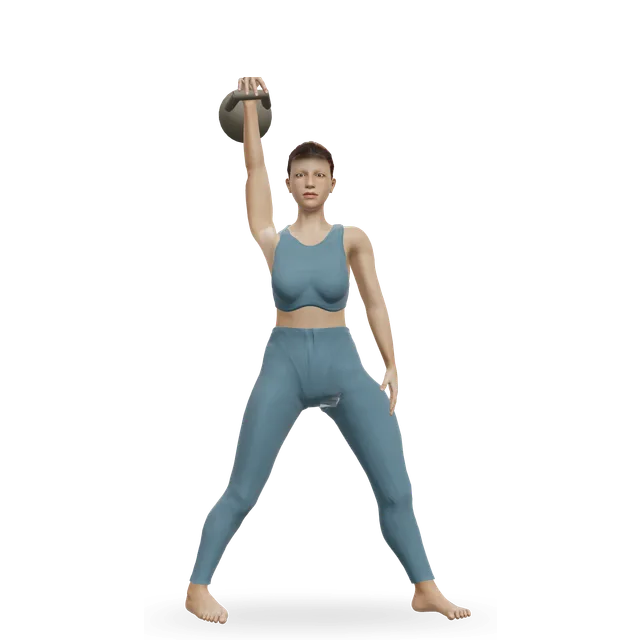
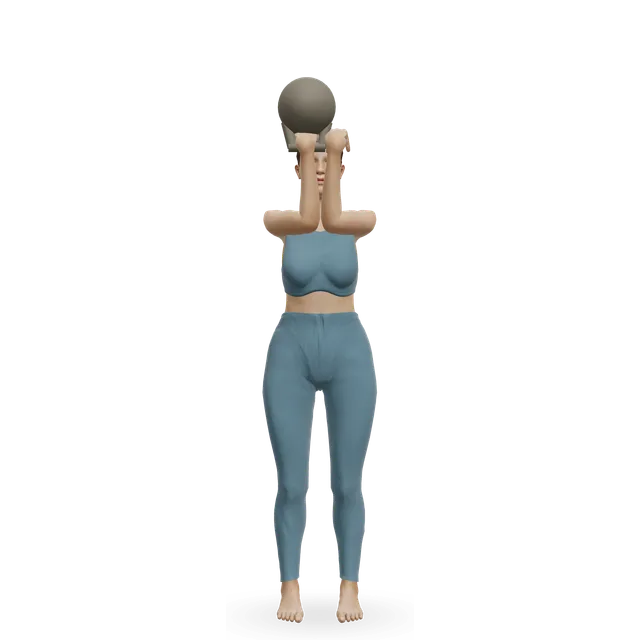
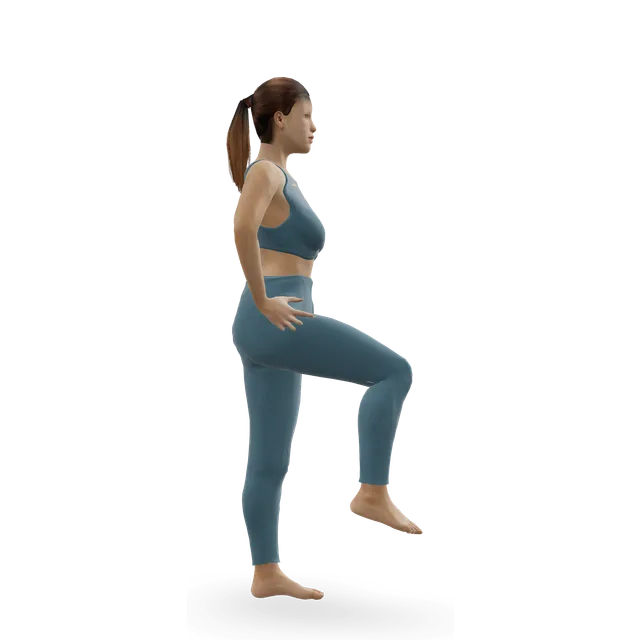
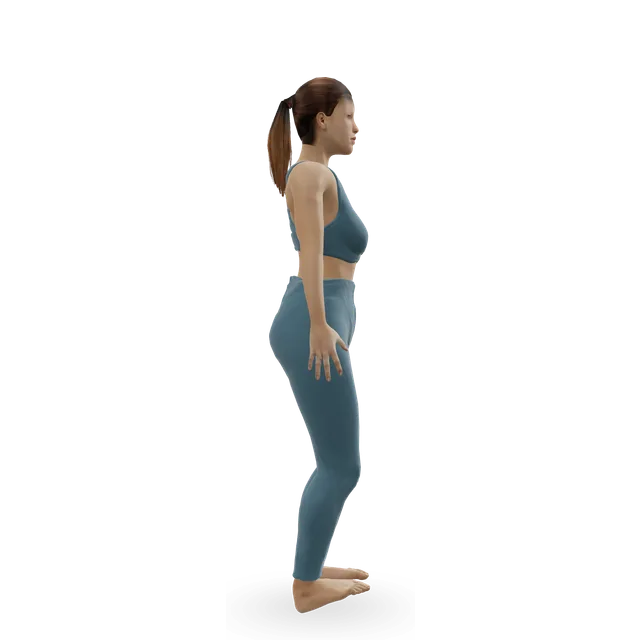
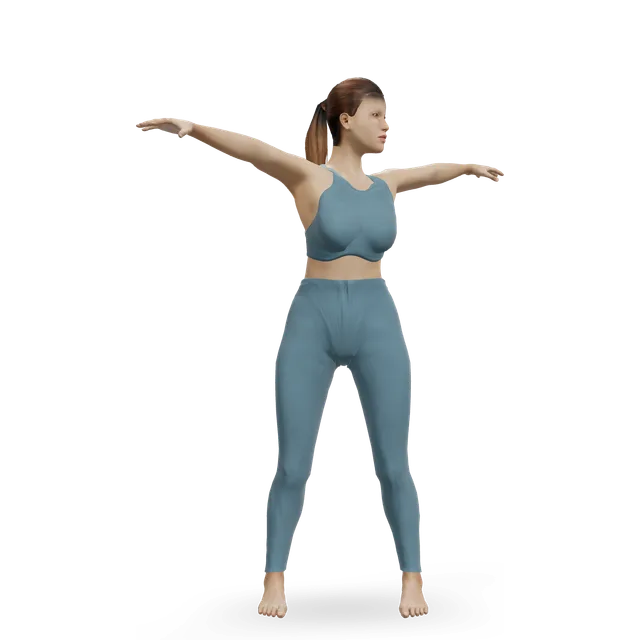
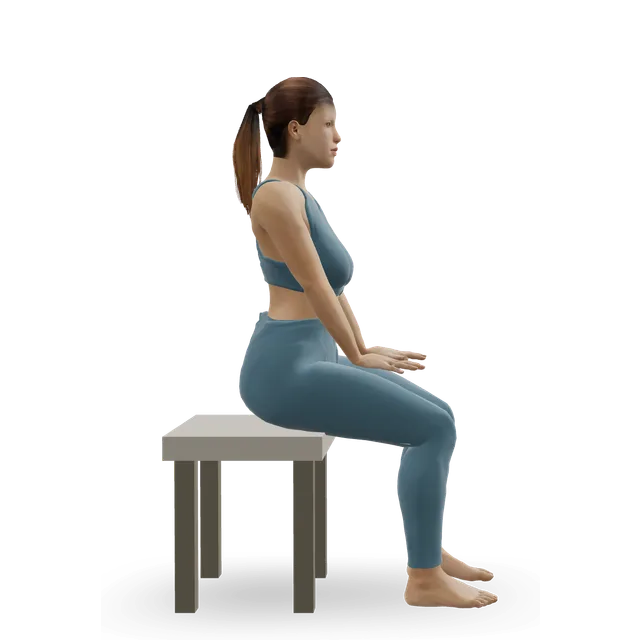
Our 3D demos show the whole movement. The stages below describe the weight in your right hand; swap sides for the left.
How to do a Turkish get-up, stage by stage
Built on ACE's technique series and our get-up move pages. Turning the back foot before you stand (often called the windscreen wiper) is common coaching practice that ACE doesn't describe: editorial. Learn the stages with no weight first; the bodyweight get-up has its own demo.
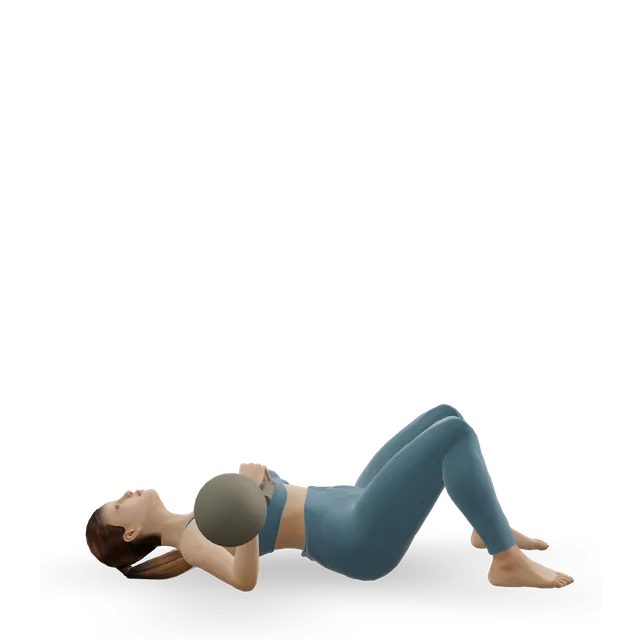
Lie on your back with the weight in your right hand, arm straight up and wrist straight. Bend your right knee with the foot flat; put your left arm out on the floor at about 45 degrees, palm down, with your left leg straight.
Roll to your elbow: push through your right foot, punch the weight towards the ceiling and roll up onto your left forearm. Eyes on the weight.
Post to your hand: push up from your elbow onto your left hand and sit tall, chest open.
Bridge: push through your right foot and left hand to lift your hips until your body is long from shoulder to knee.
Sweep: bring your left leg back under you and set the knee down behind your left hand, so your arms make a straight line from the floor to the weight.
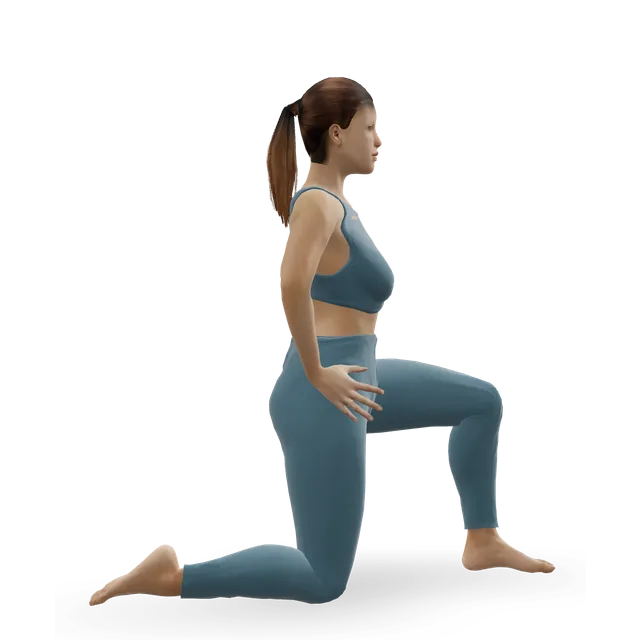
Come up to kneel: lift your left hand and bring your trunk upright into a half-kneel, turning your back foot so the shin points straight back.
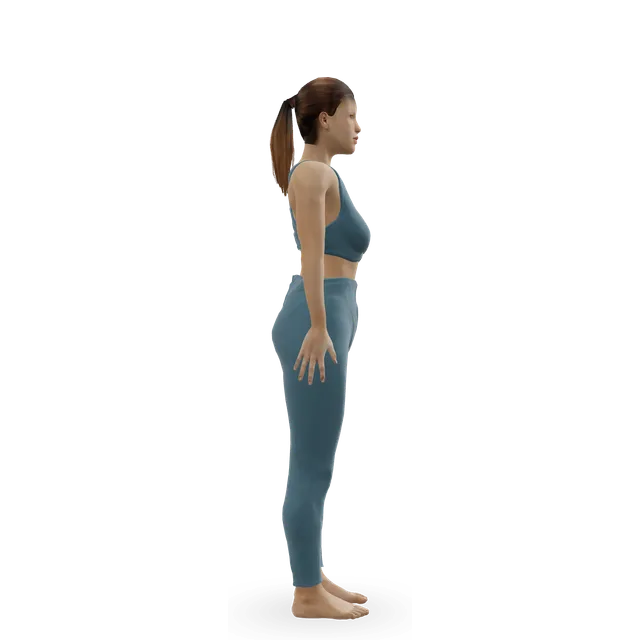
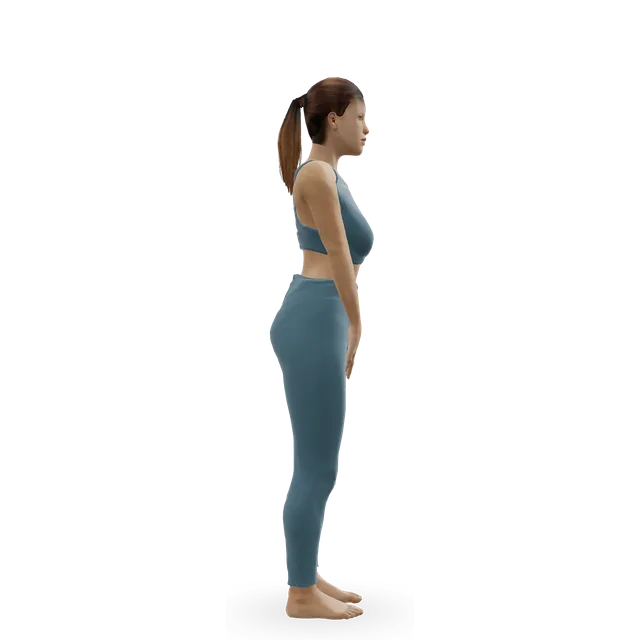
Stand: press through your front foot and stand up out of the lunge, the weight still overhead. Pause, then reverse every stage slowly to lie back down.
Loading the 3D figure…
Drag to turn
Gets into position, then repeats the movement. Technical checks passed; qualified exercise review is pending.
Lie on your right side curled around the bell, wrap your right hand around the handle and put your left hand on top. Pull it close as you roll onto your back, press it up with both hands until your arm is straight, then let your left hand go.
At the end, bring the bell down to your chest with both hands and roll onto your side to set it down. Never press or lower a bell one-handed from the floor (our advice).
Grip and wrist
Hold the handle firmly, "as if you're trying to squeeze water out of a sponge", as ACE puts it, with your wrist straight and the bell resting on the back of your forearm. Don't let the weight bend your wrist back: it makes the arm harder to keep straight.
Use a non-slip floor or a mat, as ACE advises, and keep the space around you clear of furniture and people, so a dropped bell has somewhere safe to land (our advice).
Lift your right shoulder off the floor and curl your trunk up onto your left elbow, pushing through your right foot rather than sitting up with your abs alone. This stage worked the shoulder muscles hardest in the EMG study.
From the elbow, push your left hand into the floor and sit up tall. Then lift your hips, pushing them "into full extension while leaning on the left arm", as ACE puts it.
Hold the bridge and thread your left leg back under you to a kneel. Your arms make a straight line from the floor to the weight; this stage also drew high shoulder muscle activity.
Step back to a half-kneel, put your left hand down, sweep your leg through to the bridge, lower your hips, then your elbow, then your back. The EMG study's authors advise training the way down as well as the way up.
Keep your eyes on the weight for most of the climb, as ACE teaches; our lunge-style move page has you look ahead once you're kneeling. Breathe normally, as ACE says: there's no need to hold your breath. Pause at each stage rather than rushing.
"Eyes on the bell"; "punch the ceiling"; "move your body under the bell"; and "straight wrist, locked elbow". These are coaching cues, not tested in trials.
Make a fist as if holding the handle, balance a shoe on top and do the whole get-up. If the shoe falls, your arm drifted. ACE credits the drill to Gray Cook; when the shoe stays put on both sides, you're ready for a light bell (our move-on point).
Go up to the bridge, or just to sitting on your hand, and back down. It practises the stages that worked the shoulder hardest in the EMG study, and ACE teaches these first stages before the rest. We don't have a separate demo of the half get-up.
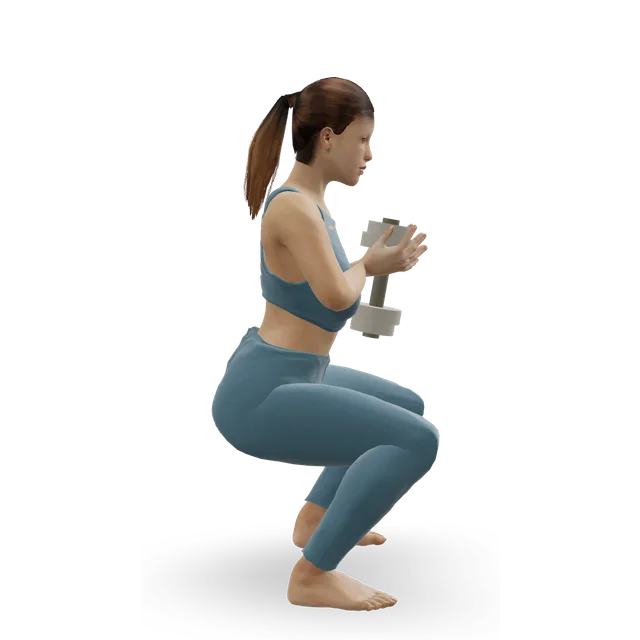
Draw your free foot in beside the other and stand up from a deep squat under the bell. It needs more hip, ankle and overhead range, so our move page asks for the lunge style and a deep bodyweight squat first.
Where coaches disagree
Both styles are taught, and no study has compared them. Use the lunge style unless you have a deep, steady squat (our view).
Choosing a bell
Start with nothing
ACE starts with body weight, then the shoe drill, before any load.
Use a bell you can press 5 to 8 times each side with reps to spare and hold steadily overhead, usually one or two sizes lighter than your swing bell, as our kettlebell plan says.
What a dancer study used
A 12-week pilot study started women at 8 kg and men at 12 kg, adding 4 kg when the effort felt easy (4 or under on a 10-point scale).
In an unpublished thesis of 13 experienced men, shoulder-blade and trunk muscle activity rose with bell weight, from 0 to 16 kg, between lying and the bridge. That's a reason to add weight in small steps.
Both work. A kettlebell rests on the back of your forearm; a dumbbell has to be balanced in your hand (our view).
The bail: what to do if you lose the bell
Decide it before you lift
If your arm bends or wavers, steer the weight away from your body and let it fall while you move the other way: never towards your face, and never try to catch it. That's the safety rule on our move pages.
Tired reps are the risky ones
Sloppy, tired get-ups are how the weight ends up somewhere it shouldn't be, as our move page puts it. Do get-ups first in a session, while you're fresh, and stop before you tire.
Your shoulder in the get-up
Arm vertical, elbow locked
Keep your arm straight and vertical over your shoulder the whole way. ACE lists losing the straight arm as a common mistake; a lighter bell is the fix.
ACE asks you to "pack" your shoulder, pulling the shoulder blade back and down. Our shoulder joint guide explains why pinning it isn't needed: the blade turns upward as the arm goes overhead. Keep your arm vertical and your shoulder away from your ear, and let the blade move with your arm (our wording).
Take the overhead arm out, or do the stages with no weight, keeping pain to 5 out of 10 or less and settling by your next session, as our shoulder pain guides advise. One case report used get-ups in the rehab of a jiu-jitsu athlete's shoulder injury, but that's one person.
If your shoulder has dislocated or feels unstable, check with a clinician first: the overhead carry's caution, "not for painful or unstable shoulders", applies here too.
What the research shows, and doesn't
The shoulder muscles of both arms workEmerging evidence
In 12 people with at least a year of get-up practice, the shoulder muscles of both arms worked through every stage, most during the roll up to the elbow and the leg sweep. It's one descriptive study of muscle activity, with no comparison exercise and no outcomes.
In an unpublished thesis of 13 experienced men, shoulder-blade and trunk muscle activity rose with bell weight from lying to the bridge. Only its abstract is available.
Programmes with swings and get-ups helped dancersMixed evidence
In a randomised trial of 23 female ballet dancers, the 13 who replaced part of their classes with a routine of 100 one-arm swings and 10 get-ups for 5 months improved jump height and balance more than the 10 who kept to usual training. In a 12-week pilot of 9 dancers with no comparison group, a shortened version improved jumps but not static (isometric) leg strength. Neither tested get-ups on their own.
In a kettlebell trial in adults aged 59 to 79, the get-up proved hard to teach to classes of 14 to 16 and got less practice than planned. Floor-transfer time still improved by about 14%.
No trial of the get-up on its ownEmerging evidence
A 2019 review of kettlebell research found that get-up publications were mostly technique articles, opinion and case reports, such as one on a jiu-jitsu athlete's shoulder rehab.
A coaching ladder for older clients puts the bodyweight get-up in its middle tier of core exercises, after planks, side planks and dead bugs and alongside the bear crawl, with the loaded get-up in its most complex tier. StrongFirst tests one get-up each side in its kettlebell instructor exam.
The get-up is a reasonable way to train your shoulders, trunk and hips together and to practise getting up from the floor. Its benefits are plausible rather than proven, so do it because it suits you, not because it has been shown to prevent injuries.
Your progression: from the floor to a loaded get-up
Doses come from the move pages and our plans unless a study is named; the move-on points are our editorial suggestions.
Step 0: floor transfers and bridges
Get down to the floor and back up, 5 to 8 slow cycles (the move page's dose), and glute bridges, 1 or 2 sets of 10. Move on when kneeling and getting up from the floor are comfortable, the bodyweight get-up's prerequisite.
Step 1: the bodyweight get-up, in parts
First up to the bridge and back (the half get-up), then kneeling to standing, then the sweep, as ACE teaches; then put them together. Up to 5 slow reps each side, pausing at each stage, the move page's dose. Move on when it's smooth on both sides.
The squat-style get-up, the kettlebell windmill and the overhead carry, each with its own move page.
How long it takes: our estimate
No study has timed it. Our estimate: 2 to 4 weeks of stage practice before a light bell, and months to reach your press bell. In older adults the get-up was hard to learn in group classes, so take your time.
Two or three times a week, early in a session while you're fresh, as in our kettlebell workout B. The dancer studies used get-ups two or three times a week inside a swing routine.
3 to 5 slow singles each side, never to fatigue, as our move page says. ACE starts with sets of 2 to 4. The dancer studies did 10 get-ups, 5 each side, one a minute.
Lifting or lowering the bell one-handed from the floor
It loads your arm and back awkwardly. Use two hands and a roll to your side, both ways (our advice).
Get-ups when you're tired
Do them first in your session, while you're fresh, as in our kettlebell workout B.
No bail plan
You'll try to catch a falling bell. Decide the bail before every rep.
Shrugging, or pinning your shoulder blade down hard
Neither is your shoulder's natural rhythm. Keep the arm vertical and your shoulder away from your ear, and let the blade move with the arm.
Who should change the get-up
Shoulder pain, or a shoulder that has dislocated
Take the overhead arm out, or use the bodyweight version within a pain level of 5 out of 10. After shoulder or hip surgery, check with your team first, as our move page advises.
Wrist pain
Keep your wrist straight under the weight, and use a lighter bell.
Check which positions are allowed with your surgeon or physiotherapist first, as our floor-transfer move page says.
Osteoporosis
The roll up to the elbow is a loaded curl of the trunk. With a past spinal fracture, practise the kneeling-to-standing part only, or get a physiotherapist's advice (our suggestion, in line with our osteoporosis guide).
Pregnancy
After the first trimester, avoid long spells lying on your back, as our pregnancy guide says, and don't start learning loaded get-ups.
Glaucoma or high blood pressure
There's no upside-down position and no need to hold your breath: ACE says to breathe normally. Keep the bell light (our suggestion).
Practise getting down to the floor and back first, with someone present and a chair close by. In a trial of adults aged 59 to 79, the get-up needed more teaching time than group classes allowed.
Learn the Turkish get-up teaches the stages in order, from no weight to a light bell; kettlebell workout B then uses get-ups as singles at the start of a strength session. The balance and seniors' routines practise getting down to the floor and back up.
For chest pain or pressure, unusual breathlessness, dizziness or fainting, or a racing or irregular heartbeat during exercise, as our plans advise.
Get an urgent GP appointment or call NHS 111
If you have sudden or very bad shoulder pain, can't move your arm, your arm or shoulder has changed shape or is badly swollen, you have pins and needles that don't go away or no feeling in your arm or shoulder, your arm or shoulder is hot or cold to touch, the pain started after an injury or fall, you have severe pain in both shoulders, or you feel feverish or unwell. In the US, contact your doctor or urgent care.
If a joint pain is sharp, gets worse during a rep or lingers into the next day, take the weight away, and see a clinician if it persists. Our shoulder guides allow pain up to 5 out of 10 during exercise if it settles by your next session.
Myths
"The get-up is proven to bulletproof your shoulders"Mixed evidence
One EMG study shows the shoulder muscles of both arms work through the stages, but there are no outcome trials, only a case report in rehab. Do it because it suits you, not because it's proven to prevent injury.
"The get-up is only for kettlebell fans"Mixed evidence
It's a structured way to get down to the floor and back up. ACE suggests it can help older adults get off the floor; in one trial the get-up got little practice, and floor-transfer time improved anyway.
Press the weight up, roll to your elbow, post to your hand, bridge your hips, sweep your leg back to kneel, come upright and stand, then reverse every stage. Keep your arm straight and your eyes on the weight.
How heavy should my first Turkish get-up be?
No weight at all. Coaches start with body weight, then a shoe balanced on your fist, then a light bell: your press bell or lighter, usually one or two sizes below your swing bell.
What is the shoe test in a Turkish get-up?
Balancing a shoe on your raised fist through the whole get-up. If it falls, your arm drifted; when it stays put on both sides, you're ready for a light bell.
How do I get the kettlebell into position for a get-up?
Lie on your side curled around the bell, grip it with both hands, roll onto your back and press it up with both hands before letting one go. Put it down the same way, never one-handed from the floor.
Is the Turkish get-up good for your shoulders?
It trains your shoulder to hold a load in many positions, and the shoulder muscles of both arms work through the stages. But no trial has tested whether it prevents or treats shoulder problems; there's one case report. With shoulder pain, use the bodyweight version and keep pain to 5 out of 10 or less.
How many Turkish get-ups should I do?
3 to 5 slow single reps each side when you're fresh, never to fatigue. In dancer studies, 10 a session, 5 each side, two or three times a week formed part of a routine with swings.
What is a half Turkish get-up?
The first half only: up to the bridge, or to sitting on your hand, and back down. It practises the stages that worked the shoulder hardest in a study of muscle activity, and ACE teaches these stages first.
Lunge or squat finish: which should I use?
Learn the lunge-style rise first: it's the version ACE teaches and our main demo shows. The squat-style rise needs a deep, steady squat under the bell, and no study has compared the two.
What should I do if I lose control of the bell?
Let it go, steering it away from your body while you move the other way, and never try to catch it. Clear the space around you before every rep.
Can I do a Turkish get-up with a dumbbell?
Yes. A dumbbell works, though it has to be balanced in your hand rather than resting on your forearm like a kettlebell, so start lighter than you think.
Is there research on the Turkish get-up?
Very little: one study of muscle activity, an unpublished thesis, two small dancer studies where get-ups were part of a swing routine, and a case report. Treat its benefits as plausible rather than proven.
Exercise education, not a personal prescription, and clinical review of these guides is pending. Check with a GP before starting hard training if you have a heart condition, chest pain, dizziness or breathlessness when active, and stop for sharp or increasing pain. Health disclaimer.