Skill progressions
L-sit progression workout
Work at the hardest step you can hold for about 10 seconds with your shoulders pressed down. Use parallettes, yoga blocks or push-up handles if your arms are short for your body or your wrists complain. Practise 2 to 4 times a week. Cramp at the front of the hips is common at first. The steps follow coaching practice, and the doses are our starting point.
Warm-up
- Beginner · Forearms · 3D demoCircles, then palm turnsEasier: Wrist circlesHarder: Wrist flexor stretch
- Quadruped wrist rocks10 rocksBeginner · Forearms, Shoulders · 3D demoA little more weight onto your hands each timeEasier: Wrist flexor stretch
- Staff pose (Dandasana)2 × 30 sBeginner · Back, Abs, Hamstrings · 3D demoSit tall with straight legs, then lift both heels a little for 5 to 10 sHarder: Boat pose (Navasana)
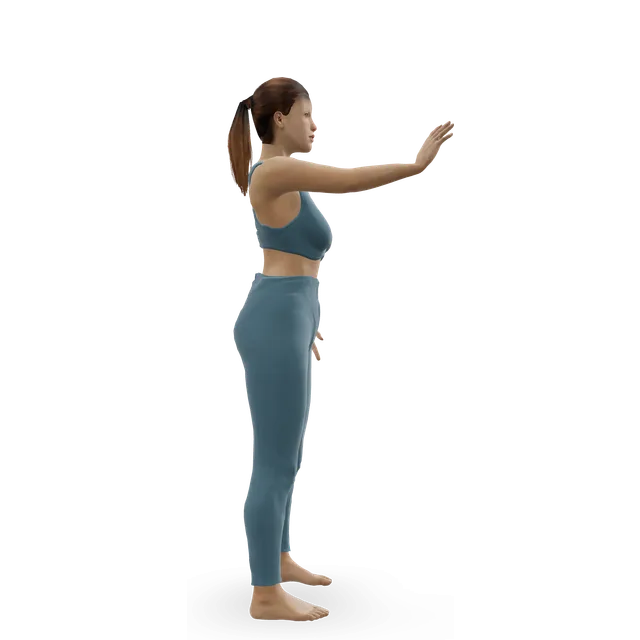
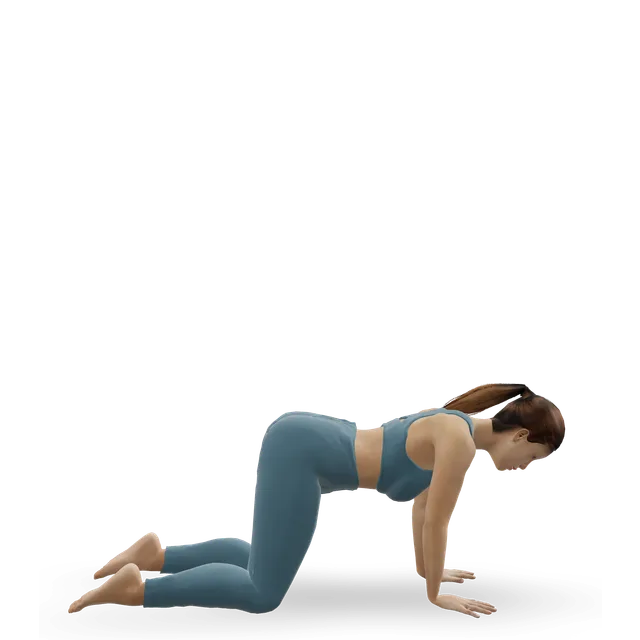
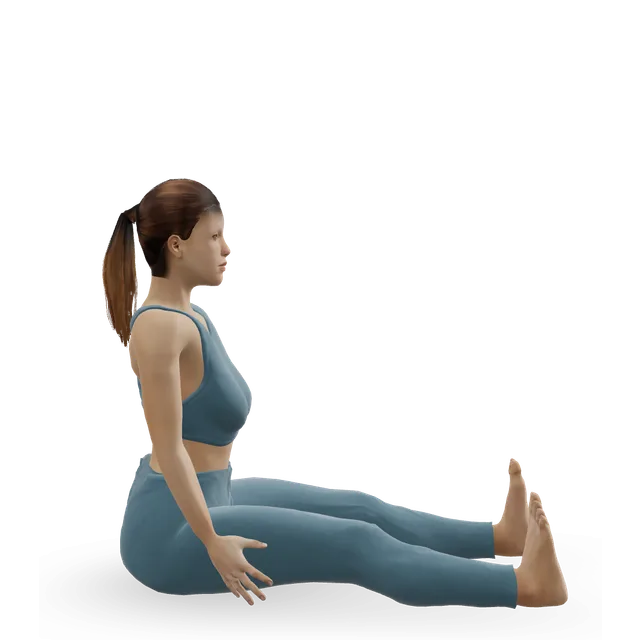
Hip flexors
Rest 60 s
- Standing band hip flexion2 × 8 to 12 each sideBeginner · Hip flexors, Abs · 3D demoSlow; use a stronger band as it gets easyEasier: Standing marchHarder: Captain's chair knee raise
- Boat pose (Navasana)2 × 20 to 30 sIntermediate · Abs, Hip flexors, Back · 3D demoKnees bent at firstEasier: Staff pose (Dandasana)Harder: L-sit
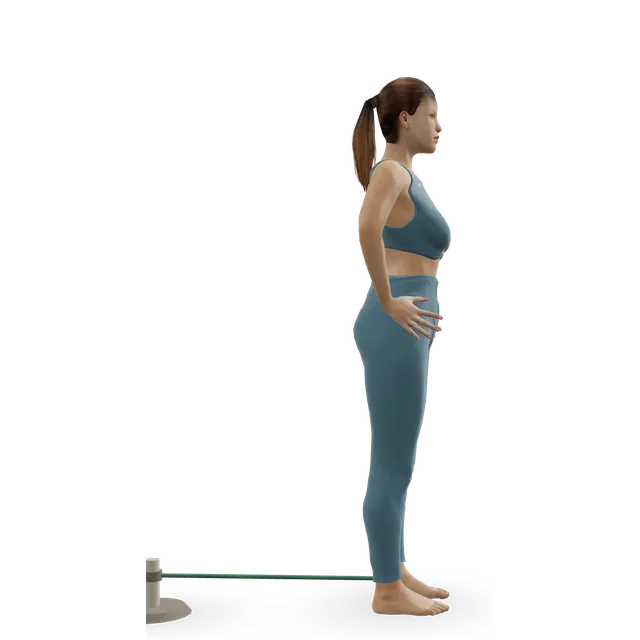
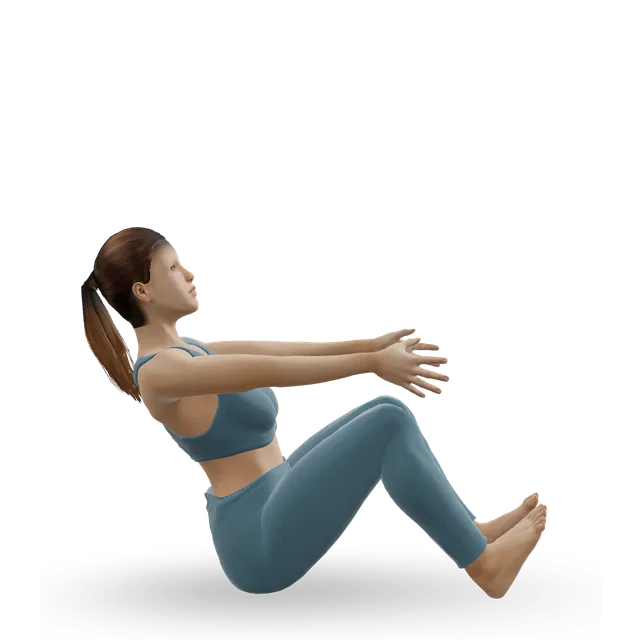
The ladder (pick your step)
Rest 60 to 90 s
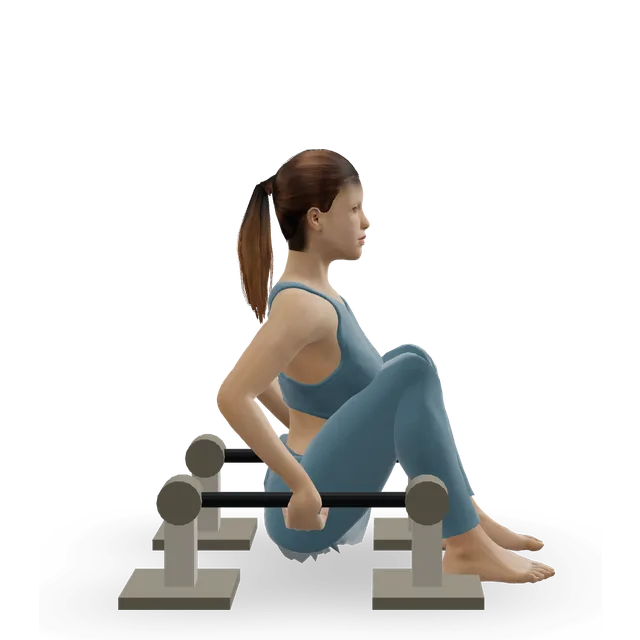
- Tuck L-sit4 or 5 holds of 10 to 20 sIntermediate · Abs, Hip flexors, Triceps · 3D demoFeet on the floor first: press down until your seat lifts. Then lift one foot, then both kneesEasier: Seated knee tuck on a benchHarder: L-sit
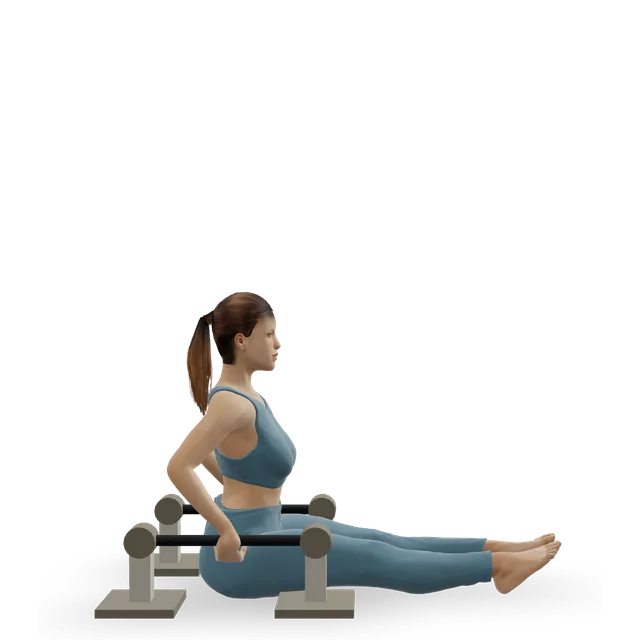
- L-sit4 or 5 holds of 5 to 15 sAdvanced · Abs, Hip flexors, Triceps · 3D demoOne leg straight first, then both. Shoulders down, chest upEasier: Tuck L-sitHarder: V-sit
Hamstrings
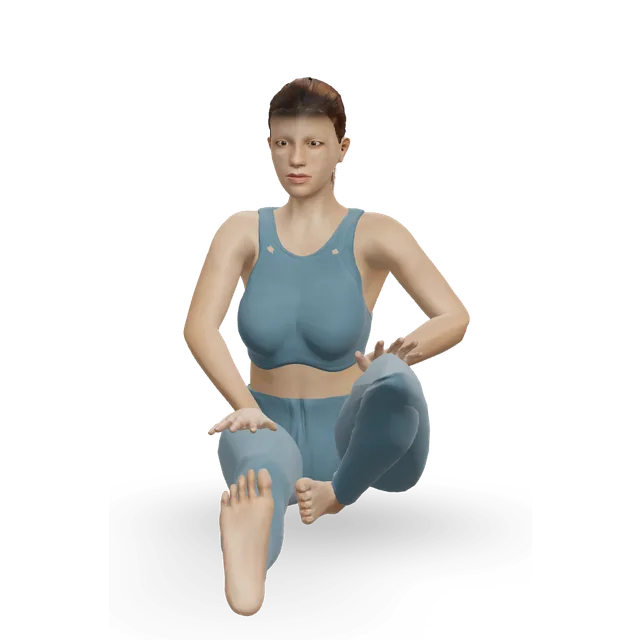
- Seated single-leg hamstring stretch1 to 3 holds of 30 s each legBeginner · Hamstrings, Calves · 3D demoEvery day you can, not only on workout daysHarder: Contract-relax hamstring stretch (PNF)
Tips
- Keep your hips under your shoulders and push your shoulders down, away from your ears.
- Cramp at the front of the hip: stop, shake it out and use shorter holds.
- Sore wrists: use fists, push-up handles or parallettes. In a child or teenager, wrist pain that is still there the next day means stopping weight-bearing on the hands and seeing a GP.
- Breathe throughout every hold.
- After tummy surgery or with a hernia, leave the L-sit out until your surgical team or GP says it's fine.
The doses are suggested starting points, not a prescription. Choose a range you can control and stop for sharp or increasing pain, numbness or tingling. Get individual advice after an injury or surgery, or if you are pregnant or managing a health condition.
Guides that recommend it
Find more moves like these
More skill progressions
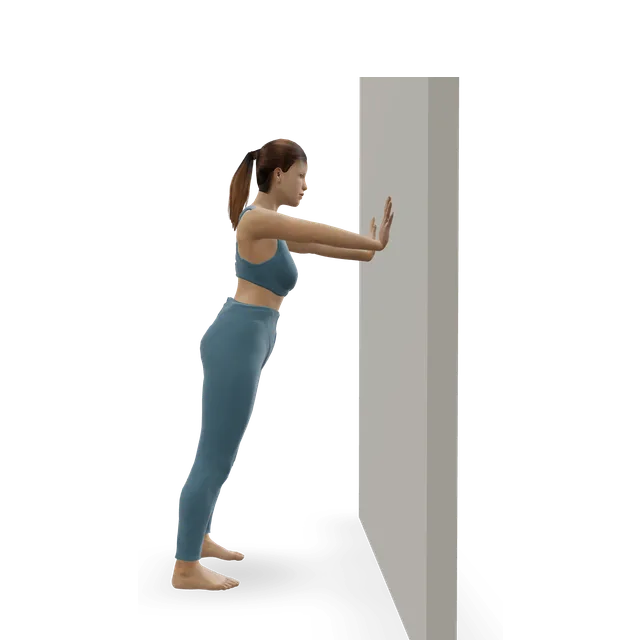
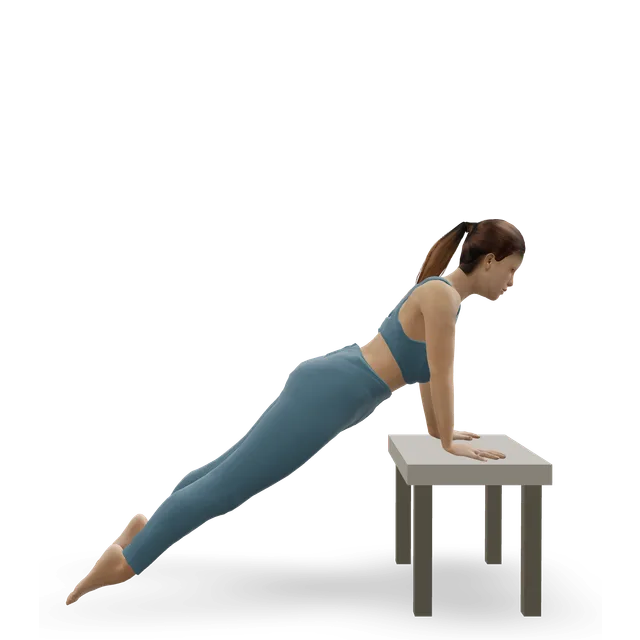
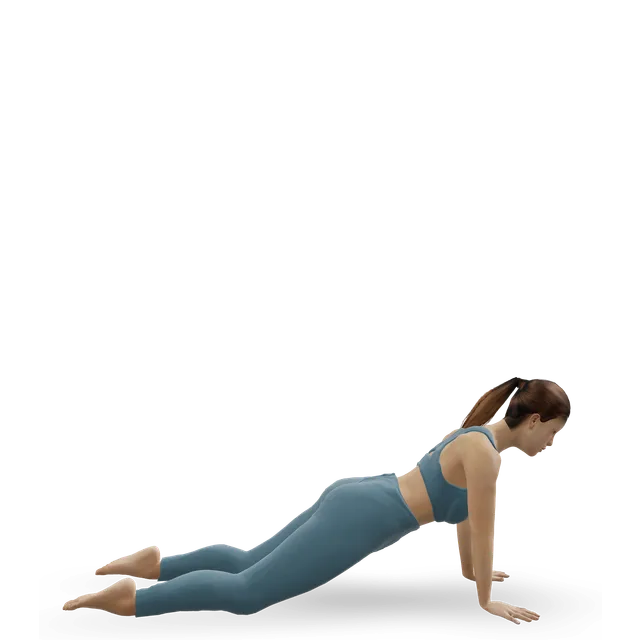
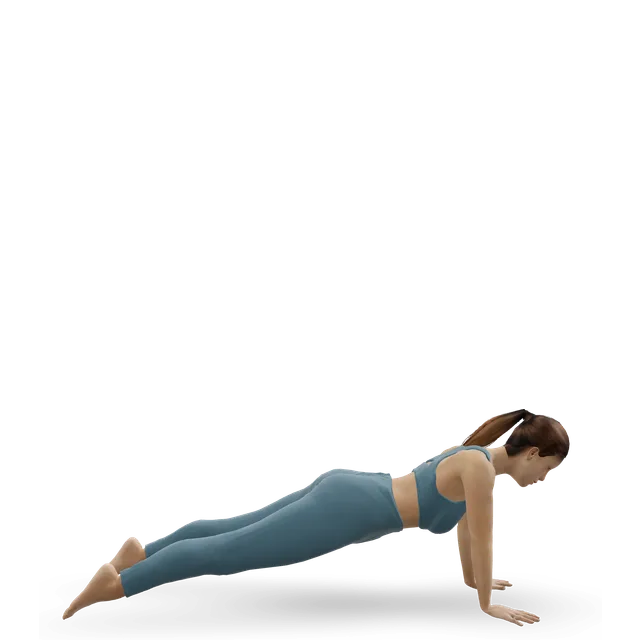
Push-up progression workout
Work up to full push-ups: wall, incline and knee push-ups, then the floor push-up and harder variations.
15 minBeginner8 movesA wall, A bench or box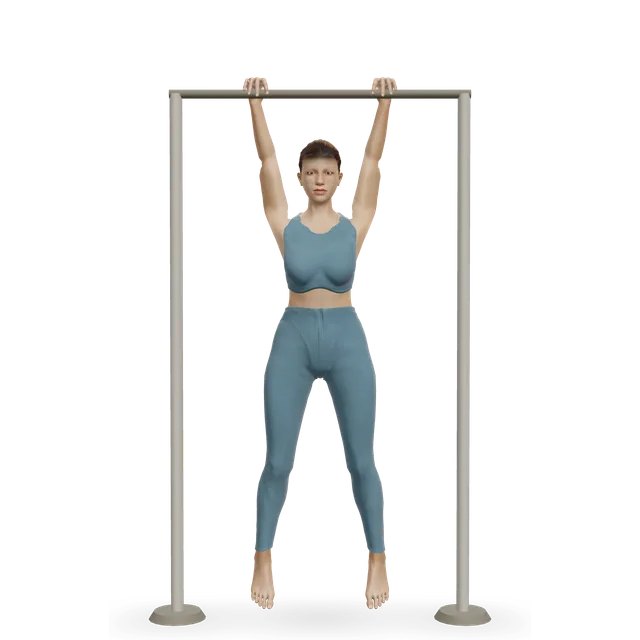
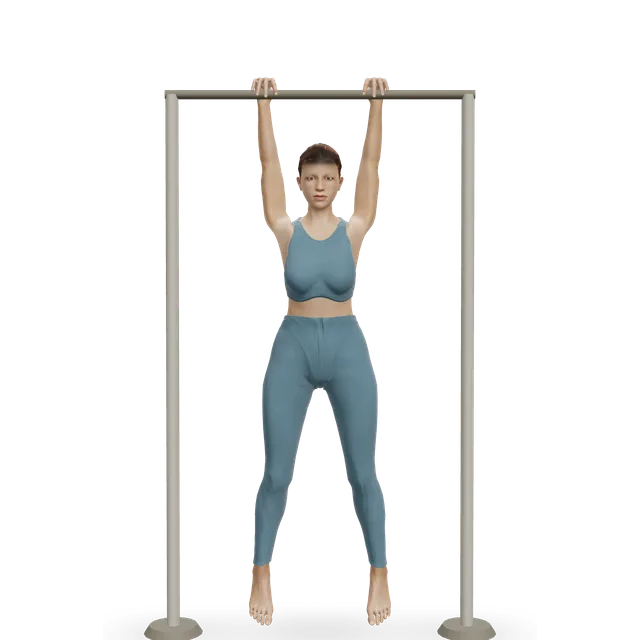
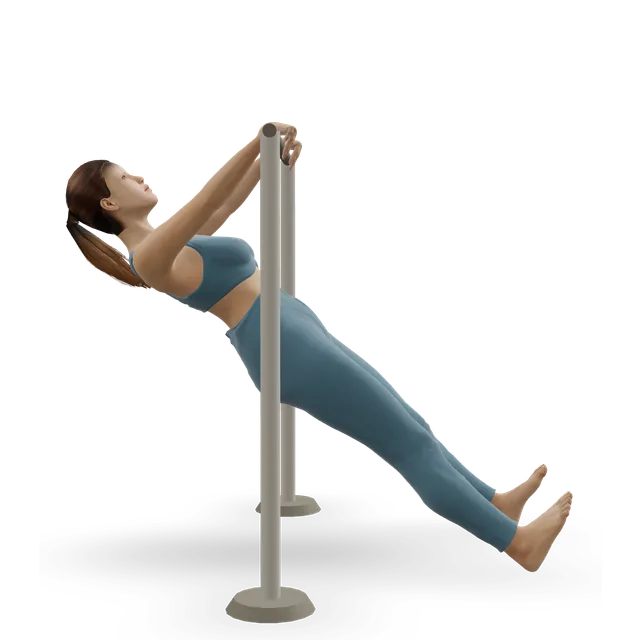
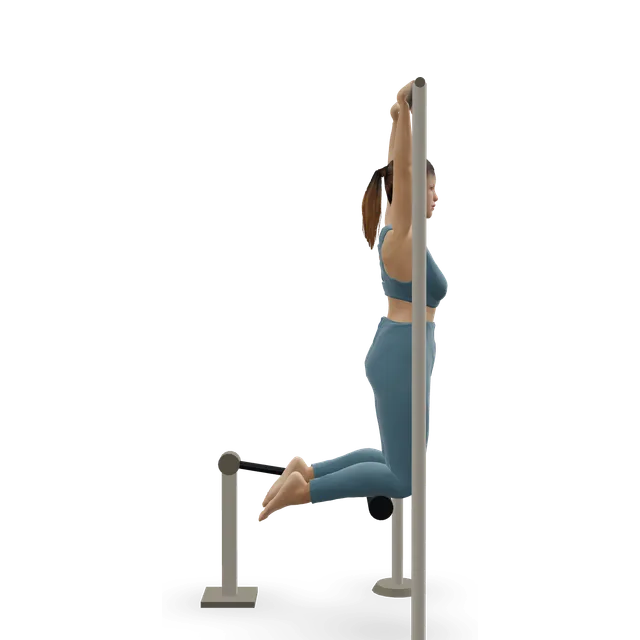
Pull-up progression workout
Work up to your first pull-up: dead hangs, scapular pulls, rows, negatives and assisted pull-ups.
25 minBeginner7 movesPull-up bar, A step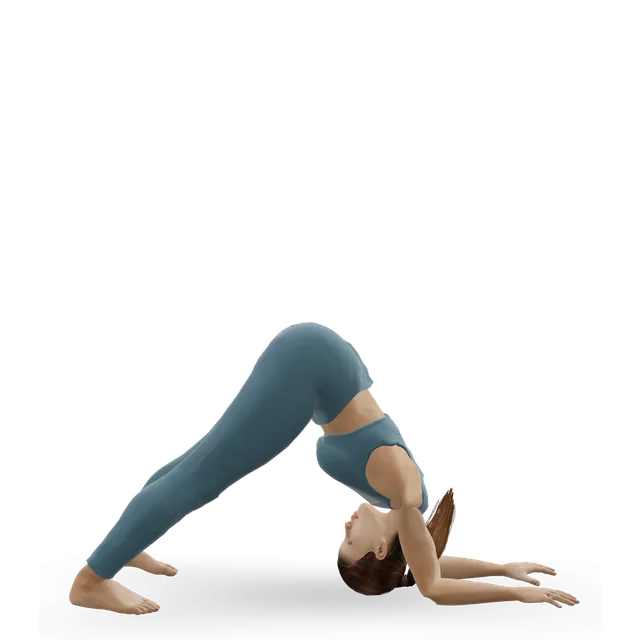
Handstand progression
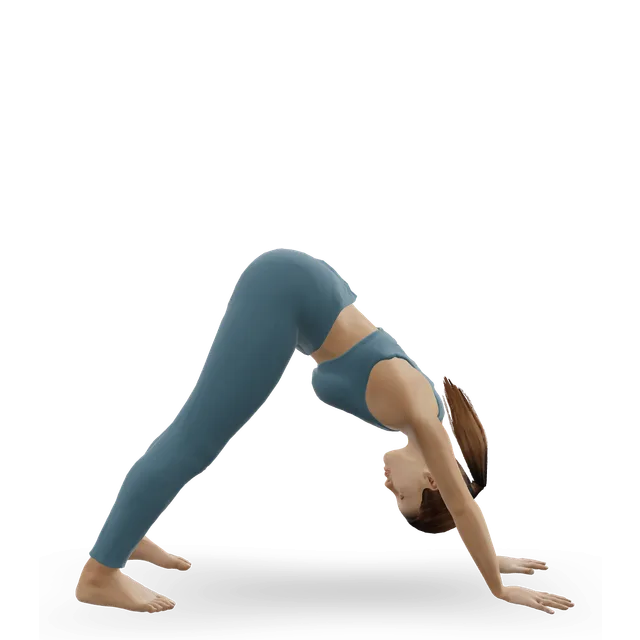
Build toward a handstand: wrist prep, dolphin pose, pike push-ups, crow, the wall handstand and freestanding holds.
25 minAdvanced8 movesA wallQuestions people ask
How long does the l-sit progression workout take?
About 20 minutes, including any warm-up and cool-down listed. Shorten it by doing fewer rounds; lengthen it by adding one.
What equipment do I need?
You need: A band, An anchor point. Each move links to its guide, where you can find an alternative if you are missing something.
Is it suitable for me?
It is written at intermediate level. 6 of its 8 moves have an easier option listed beside them; use them freely.
How do I make it easier or harder?
Use the easier or harder option listed under each move, change the number of rounds, or adjust the rest. Progress one change at a time.