Skill progressions
Flutter kick progression workout: from heel taps to low flutter kicks
Flutter kicks look simple, but most people's lower back starts to arch as soon as their legs go low. This session builds up to flutter kicks step by step: heel taps and dead bugs teach your back to stay down while your legs move, the leg pull-in moves both legs at once, and then you kick with your legs high, lowering them a little over the weeks. Flutter kicks in the hollow position are the optional top step. Find the hardest step you can do with your lower back still for every rep or second, do 2 or 3 sets of it, and move up when every set reaches the top of its range for 2 sessions. It's a skill ladder, not a full ab session: for a fuller core routine, follow our 30-day ab challenge. No trial has tested a flutter kick programme: the order follows the levels of the Sahrmann core test and our dead bug ladder, and the doses come from our 30-day ab challenge and the move pages. Do it 2 or 3 times a week, on days apart, on its own or after other training.
Warm-up
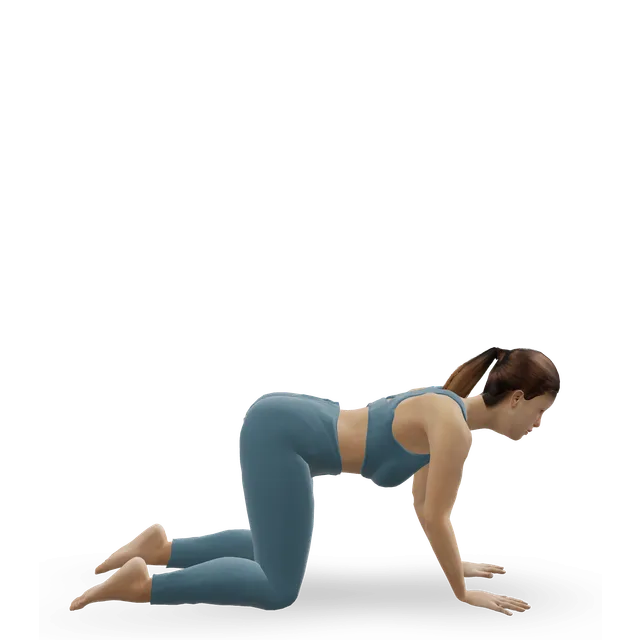
- Cat-cow8 slow wavesBeginner · Back, Abs · 3D demoThe move page's doseHarder: Half lord of the fishes (Ardha Matsyendrasana)
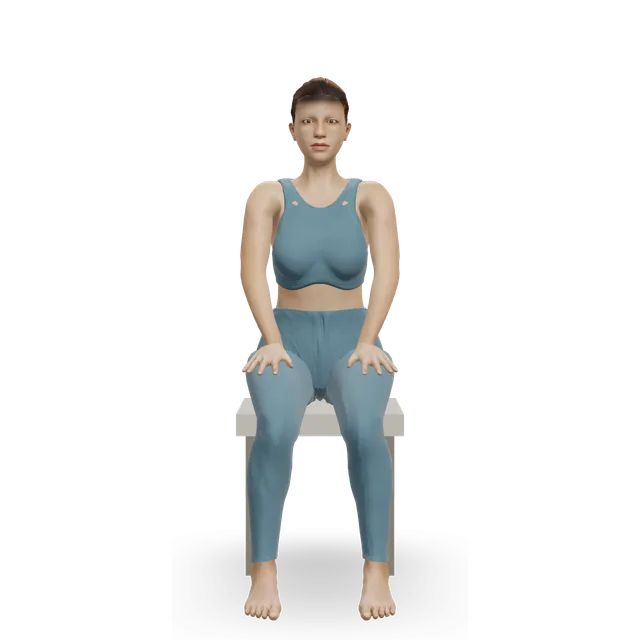
- Lateral breathing (Pilates breathing)5 to 8 breathsBeginner · Abs · 3D demoThe move page's dose. On your back with your knees bent: breathe into the sides of your ribsHarder: Roll-up (Pilates)
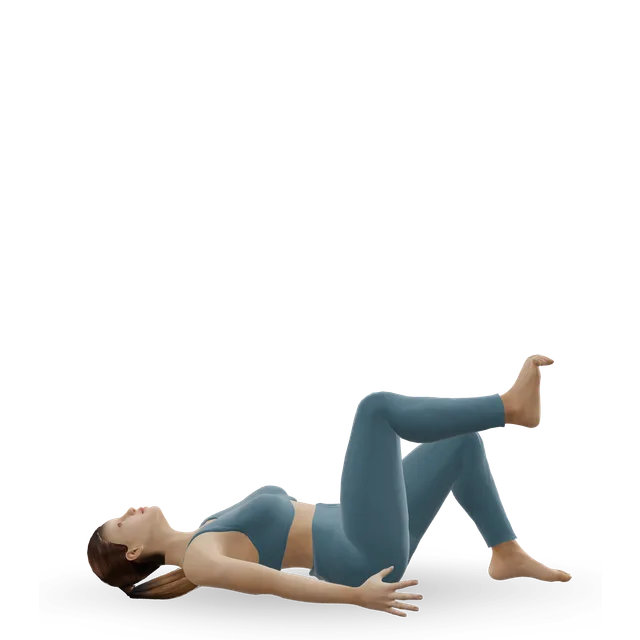
- Knee fold6 each sideBeginner · Abs, Hip flexors · 3D demoFloat one knee up to a right angle and back down, keeping your pelvis stillEasier: Supine heel slideHarder: Dead bug heel taps
The ladder (pick your step)
Rest 30 to 45 s between sets
- Dead bug heel taps2 to 3 sets of 6 to 10 each sideBeginner · Abs, Hip flexors · 3D demoStep 1. Lower back gently down; breathe out as the heel tapsEasier: Bent-knee fall-outHarder: Forearm plank
- Dead bug2 to 3 sets of 6 to 10 each sideBeginner · Abs, Hip flexors · 3D demoStep 2. Once heel taps are easy at the top of the rangeEasier: Dead bug heel tapsHarder: Forearm plank
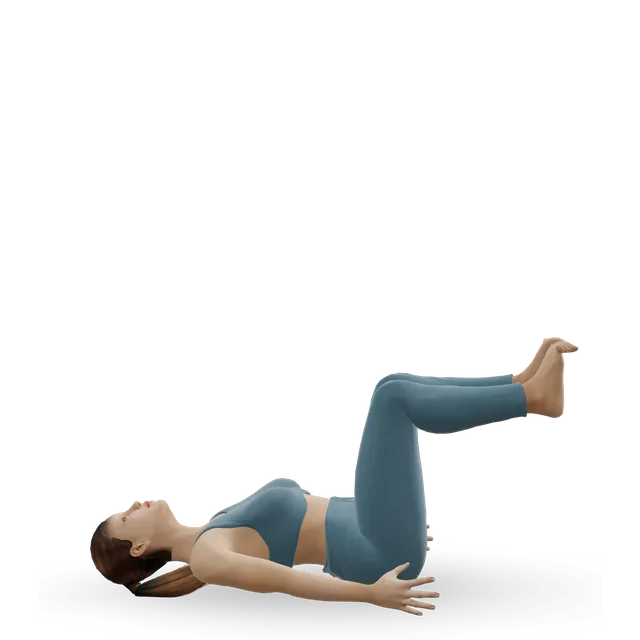
- Leg pull-in2 sets of 6 to 8Intermediate · Abs, Hip flexors · 3D demoStep 3. Legs long and heels just off the floor; draw your knees in and push them back out without touching down. Rest your heels on the floor between reps if your back liftsEasier: Stomach vacuum (drawing-in)Harder: Plank walk-up
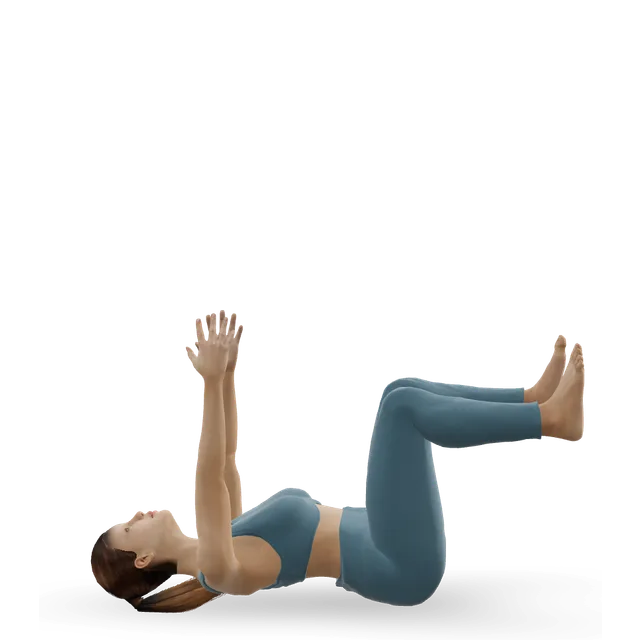
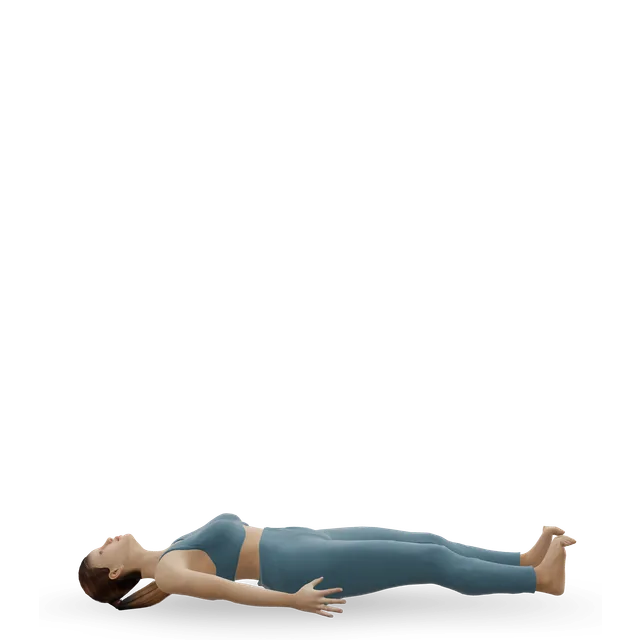
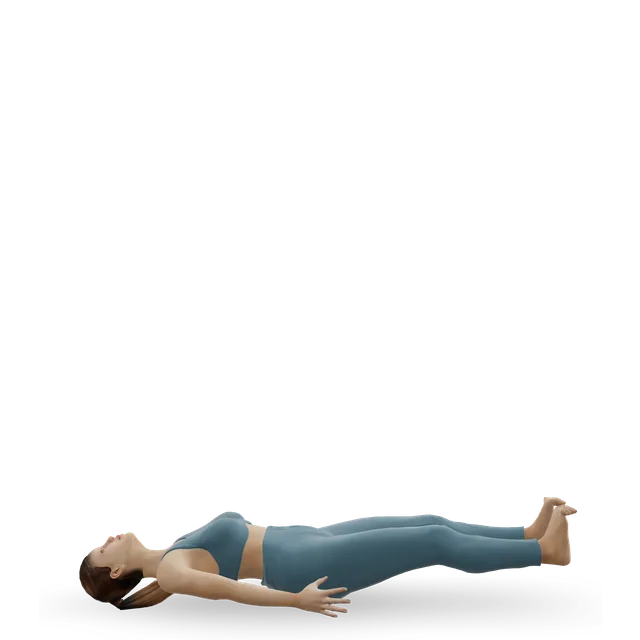
- Scissor kicks2 to 3 sets of 20 to 30 sIntermediate · Abs, Hip flexors · 3D demoStep 4, flutter kicks. Keep the kicks small and quick, with your legs high (near vertical) at first, and lower them a little every week or two, only while your lower back stays down. The demo shows bigger scissor kicks from lower downEasier: Staff pose (Dandasana)Harder: Double straight-leg stretch (Pilates lower lift)
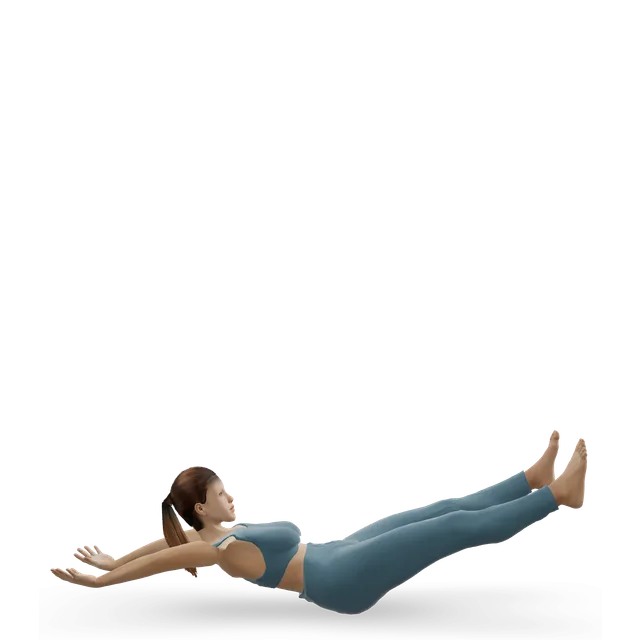
- Hollow body hold2 to 3 holds of 10 to 30 sIntermediate · Abs, Hip flexors · 3D demoStep 5, optional. Knees bent at first; once the hold is steady, add small flutter kicks in it. Leave it out with osteoporosis, in pregnancy or after a recent birthEasier: Dead bugHarder: Dragon flag
Balance
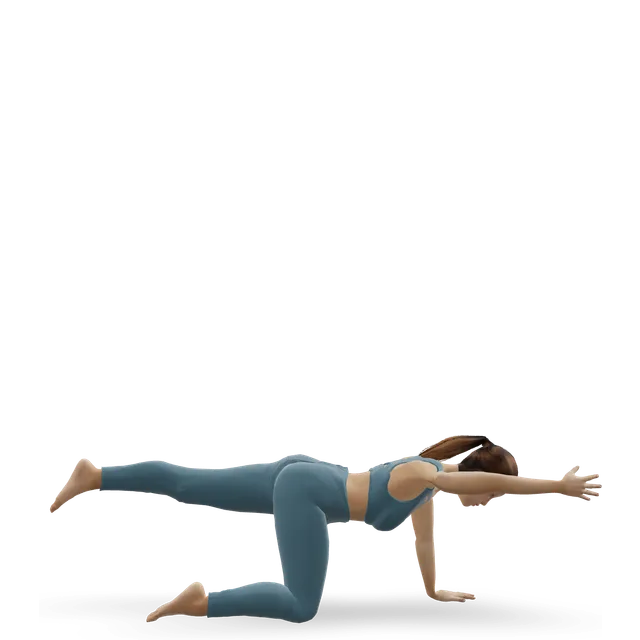
- Bird dog1 to 2 sets of 6 each side, 3 to 5 s holdsBeginner · Back, Abs, Glutes · 3D demoKeep your back stillEasier: Bird dog, one limb at a timeHarder: Bear crawl
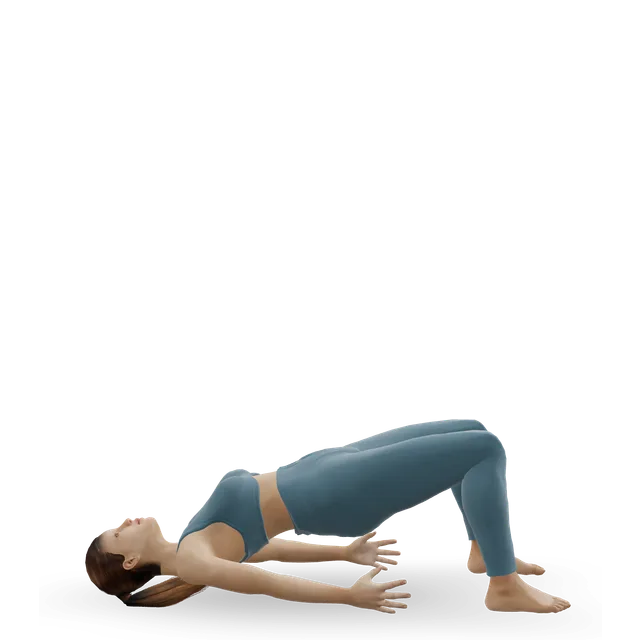
- Glute bridge1 set of 10 to 12Beginner · Glutes, Hamstrings, Abs · 3D demoLift your hips without arching your lower backEasier: Pelvic tilt into bridgeHarder: Single-leg glute bridge
Cool-down (optional)
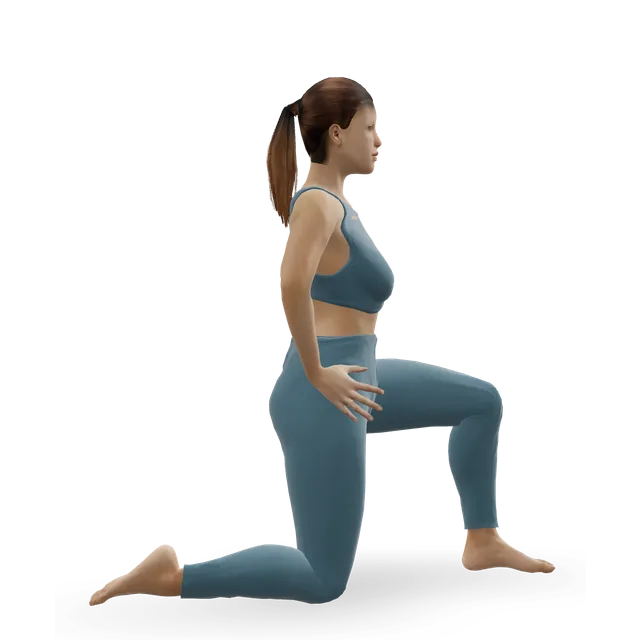
- Half-kneeling hip flexor stretch30 s each sideBeginner · Quads, Glutes · 3D demoPad the kneeling kneeHarder: Couch stretch
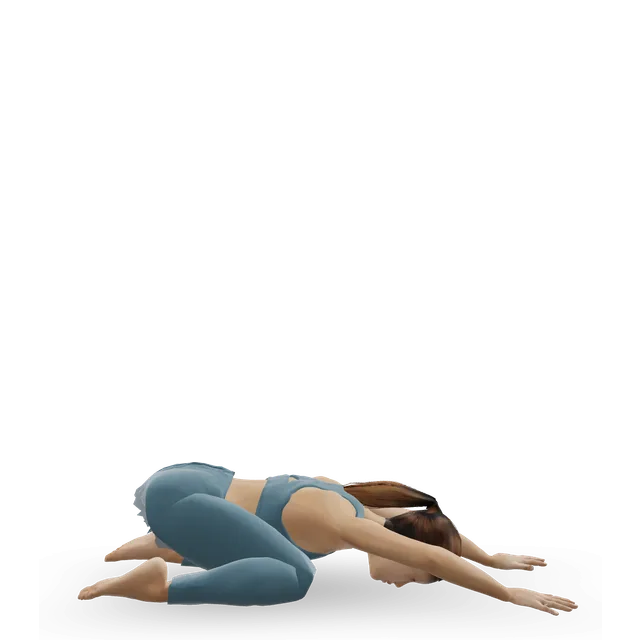
- Child's Pose (Balasana)1 to 3 minBeginner · Back, Shoulders, Glutes · 3D demoThe move page's doseHarder: Extended puppy pose (Uttana Shishosana)
Tips
- Move up a step once every set has reached the top of its range for 2 sessions with your lower back still, and start the new step at the bottom of its range.
- End each set when your lower back starts to lift or the front of your hips cramps: that's the end of useful reps. Make it harder, not longer: lower your legs or move up a step rather than going past about 60 seconds.
- Keep your head down for steps 1 to 4; lift it only in the hollow step, and rest it if your neck aches. Breathe throughout; never hold your breath.
- Stop for chest pain, dizziness or unusual breathlessness. With back pain, stay on steps 1 and 2 and follow our back pain guide's rule; stop if a move sends pain down a leg.
- In pregnancy, after the first trimester, don't do this lying flat on your back: use our pregnancy Pilates workout instead.
- After a birth, start with the NHS's gentle tummy exercises and our diastasis recti guide's stages. If the middle of your tummy domes (bulges into a ridge), go back a step.
- With osteoporosis, leave out step 5: steps 1 to 4 keep your head down and your spine still.
- With a hernia, after tummy surgery or with a stoma, use the beginner core workout and our guides instead, and stop if you notice bulging around a scar, a stoma or the hernia.
The doses are suggested starting points, not a prescription. Choose a range you can control and stop for sharp or increasing pain, numbness or tingling. Get individual advice after an injury or surgery, or if you are pregnant or managing a health condition.
Guides that recommend it
Find more moves like these
More skill progressions
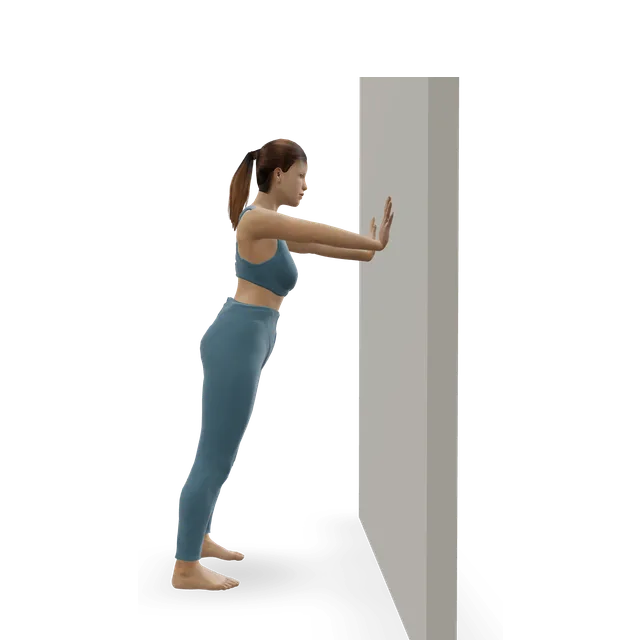
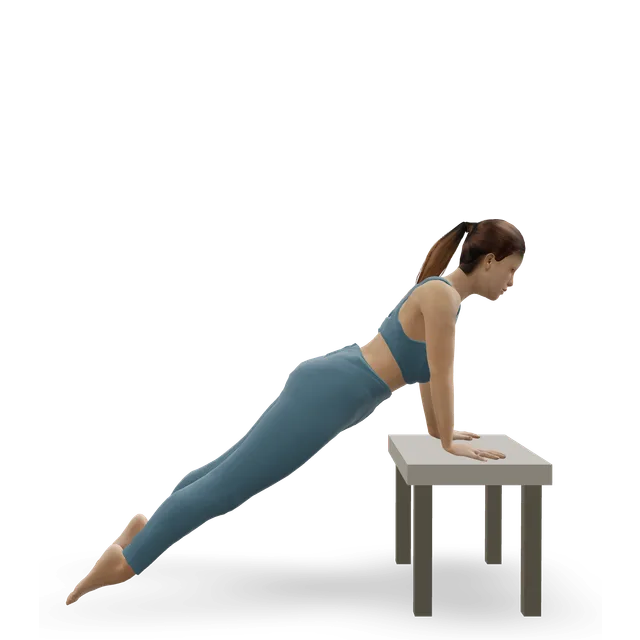
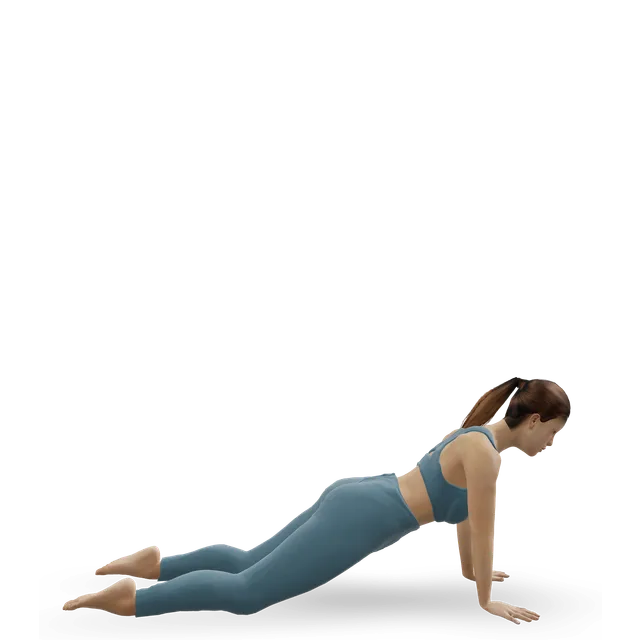
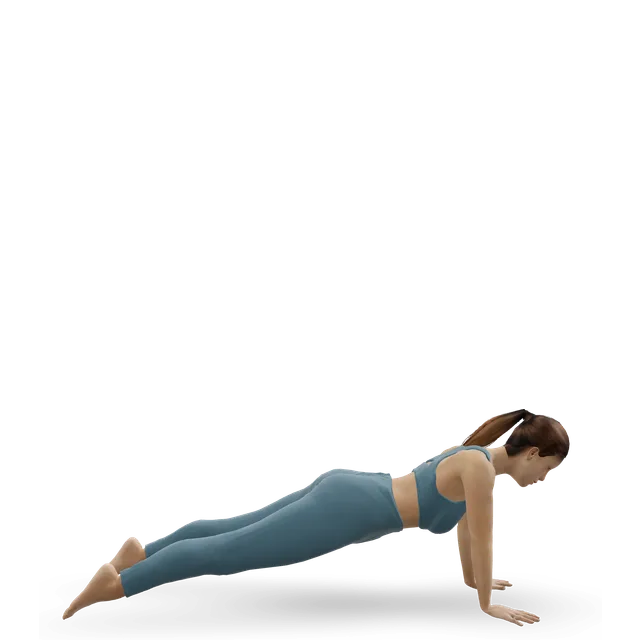
Push-up progression workout
Work up to full push-ups: wall, incline and knee push-ups, then the floor push-up and harder variations.
15 minBeginner8 movesA wall, A bench or box
Pull-up progression workout
Work up to your first pull-up: dead hangs, scapular pulls, rows, negatives and assisted pull-ups.
25 minBeginner7 movesPull-up bar, A step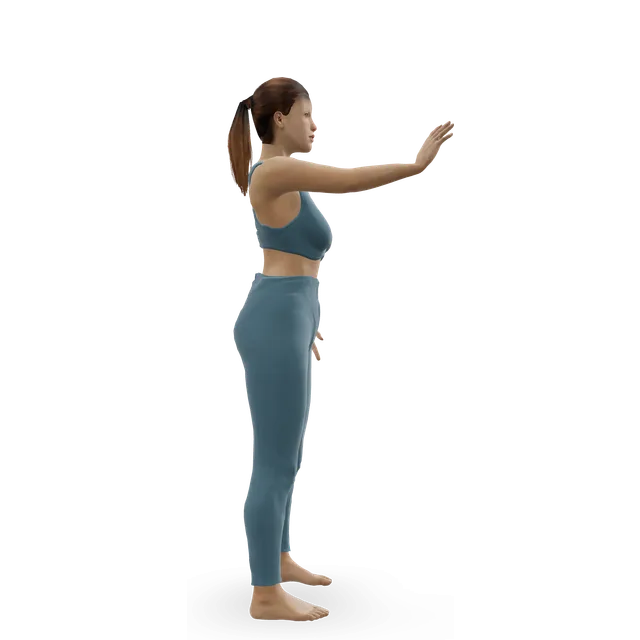
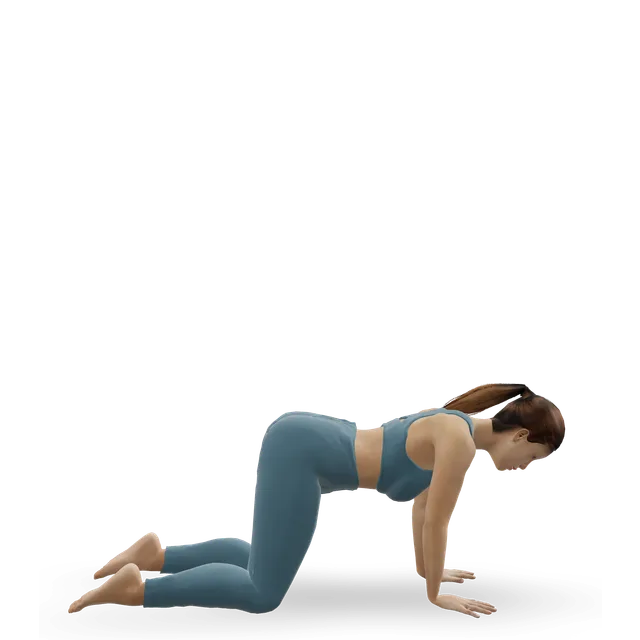
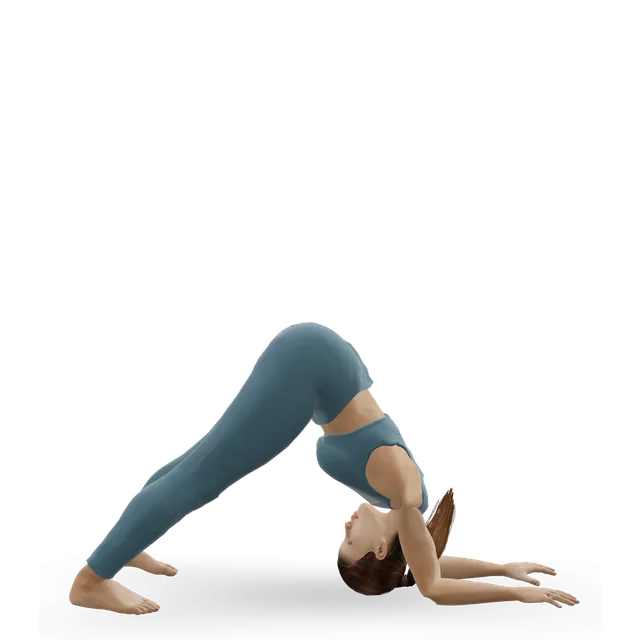
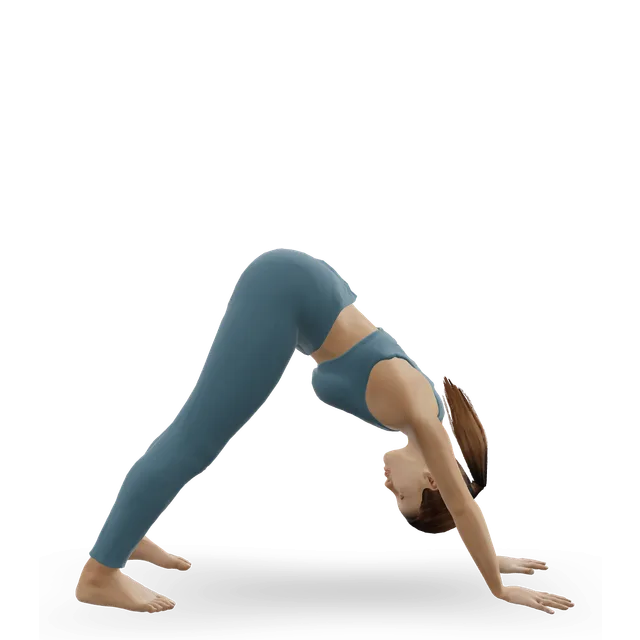
Handstand progression
Build toward a handstand: wrist prep, dolphin pose, pike push-ups, crow, the wall handstand and freestanding holds.
25 minAdvanced9 movesA wallQuestions people ask
How long does the flutter kick progression workout: from heel taps to low flutter kicks take?
About 15 minutes, including any warm-up and cool-down listed. Shorten it by doing fewer rounds; lengthen it by adding one.
What equipment do I need?
No equipment: your body and some floor space. A mat makes floor work more comfortable.
Is it suitable for beginners?
It is written for beginners. 8 of its 12 moves have an easier option listed beside them if you need one.
How do I make it easier or harder?
Use the easier or harder option listed under each move, change the number of rounds, or adjust the rest. Progress one change at a time.