Pilates
Build-stage Pilates for hip bursitis: a 25-minute class that loads the side of the hip without squeezing it
This class is the next step after our 20-minute Pilates for hip pain class, for pain on the outside of the hip (hip bursitis or gluteal tendinopathy). It moves your weight onto one leg and builds the side-hip muscles without the positions that squeeze the tendons: no clams, no crossed legs and no lying on the sore side. There should be no extra outer hip pain in the bridges, squats and side-steps; heavier moves can go up to about 5 out of 10 if the pain settles afterwards and your hip is no worse that night or the next morning. The order and doses are our editorial choice, following the LEAP trial's stages: no trial has tested Pilates for this pain.
Set up
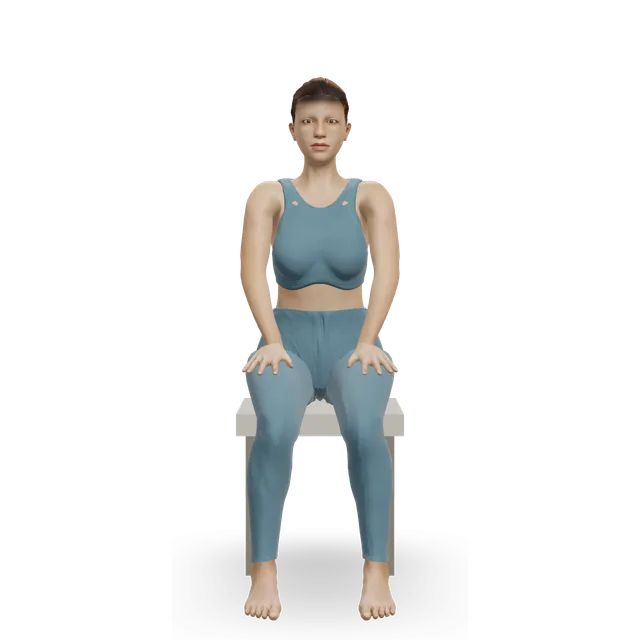
On your back
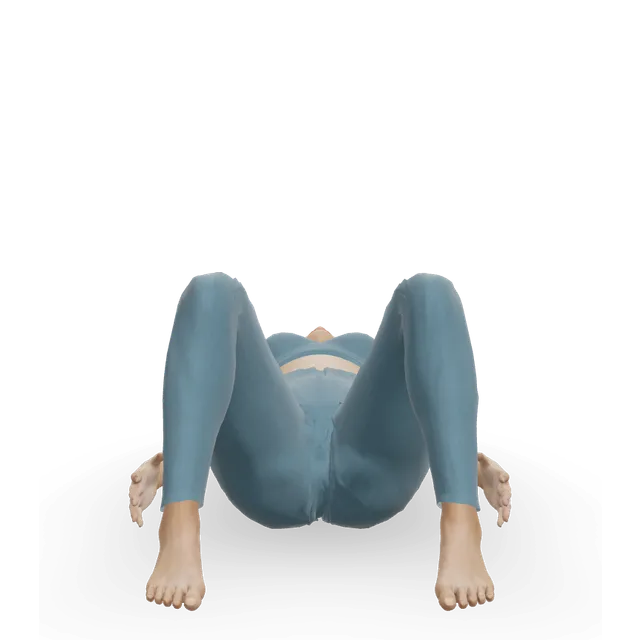
- Supine isometric hip abduction (belt press)3 to 5 holds of 5 to 10 sBeginner · Hip abductors, Glutes, Abs · 3D demoA belt or band just above the knees; press out gentlyHarder: Lateral band walk
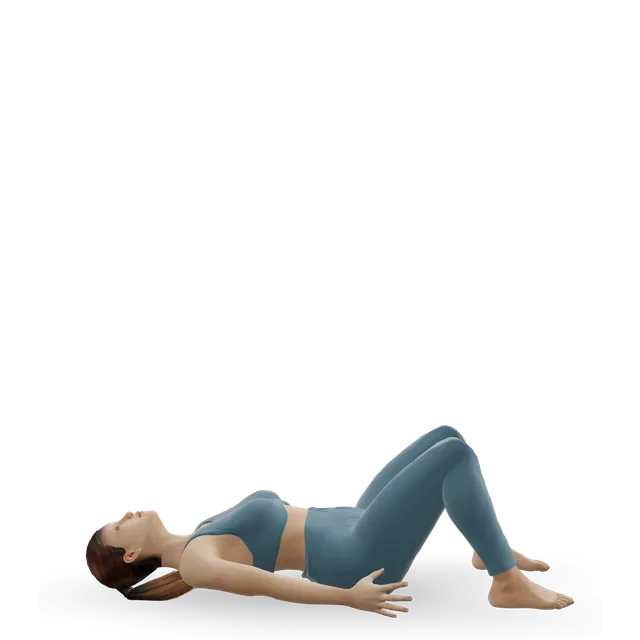
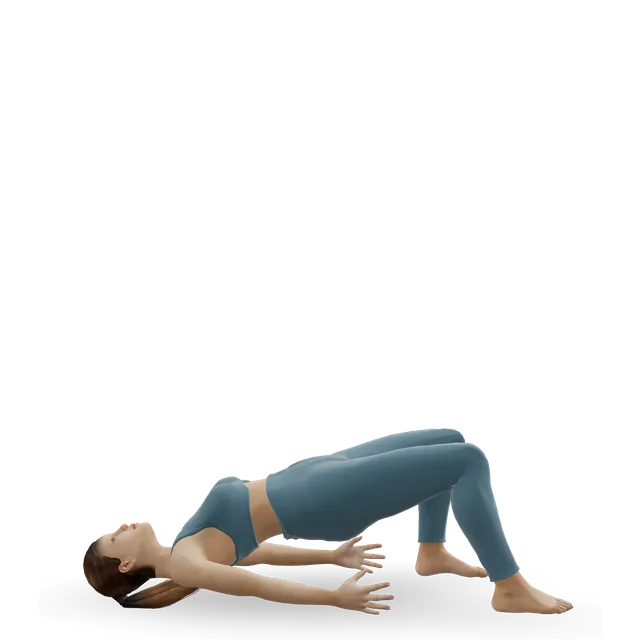
- Pelvic tilt into bridge8 slow repsBeginner · Glutes, Abs, Hamstrings · 3D demoKnees hip-width apart, not squeezed togetherHarder: Glute bridge
- Staggered-stance bridge (offset bridge)2 sets of 5 to 8 each sideBeginner · Glutes, Hamstrings, Hip abductors · 3D demoOne foot a little ahead of the other; lift evenly, pelvis levelEasier: Pelvic tilt into bridgeHarder: Single-leg glute bridge
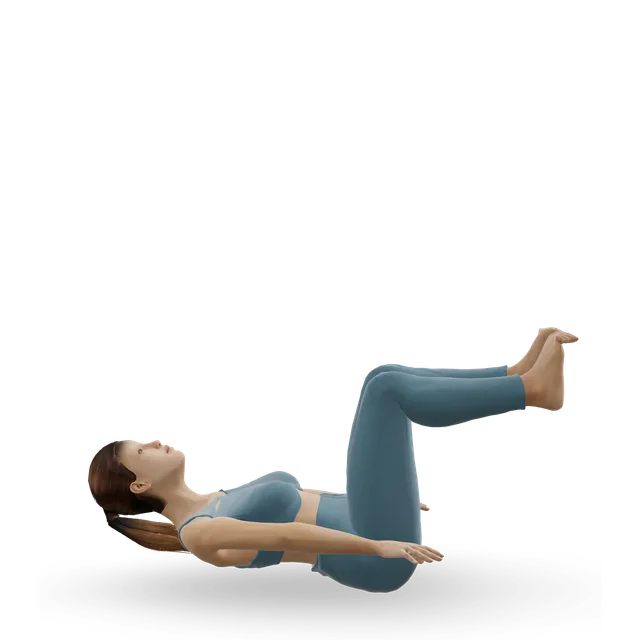
- Dead bug heel taps2 sets of 6 each sideBeginner · Abs, Hip flexors · 3D demoLower back quiet; knees stay hip-width apartEasier: Bent-knee fall-outHarder: Forearm plank
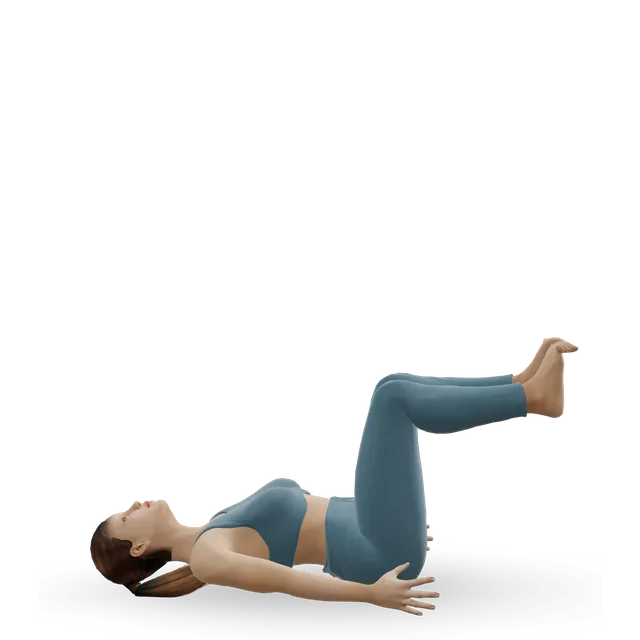
All fours and your good side
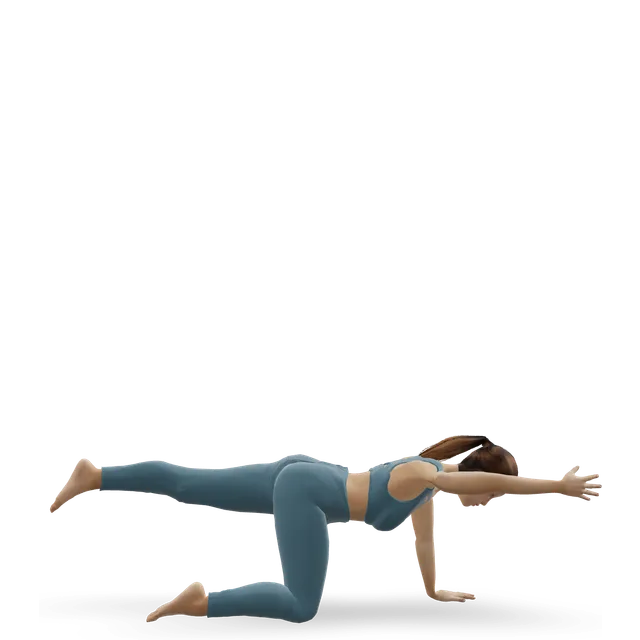
- Bird dog5 each side, 3-breath holdsBeginner · Back, Abs, Glutes · 3D demoReach the leg straight back, hips levelEasier: Bird dog, one limb at a timeHarder: Bear crawl
- Side kick (Pilates side kick series)8 with the sore leg on topBeginner · Hip flexors, Glutes, Hip abductors · 3D demoLie on your good side with a pillow between your knees so the top leg stays level; never lie on the sore side, and swap to the wall side leg lift if this brings on outer hip painHarder: Side-lying leg circles (Pilates side kick series)
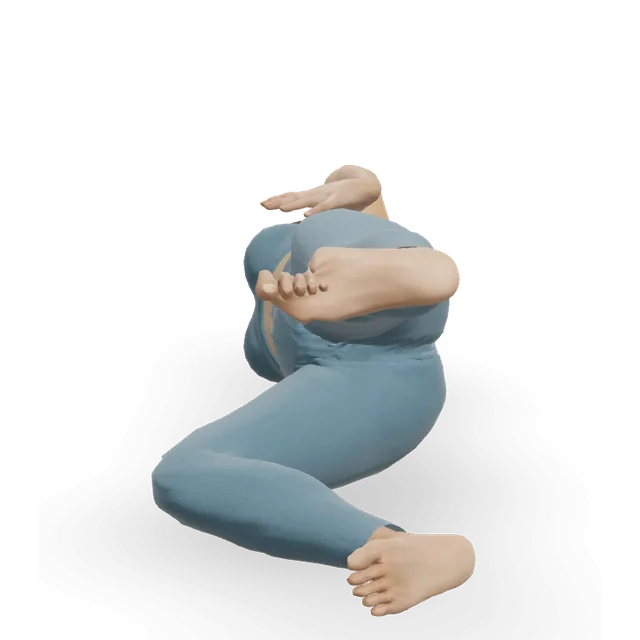
Standing
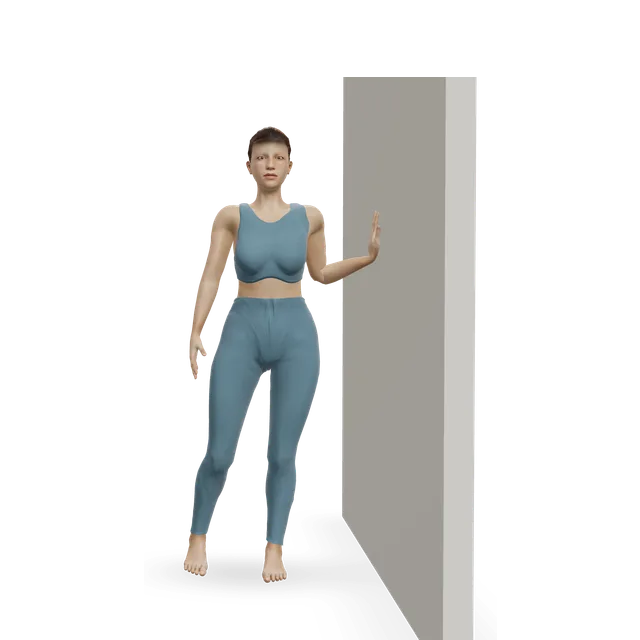
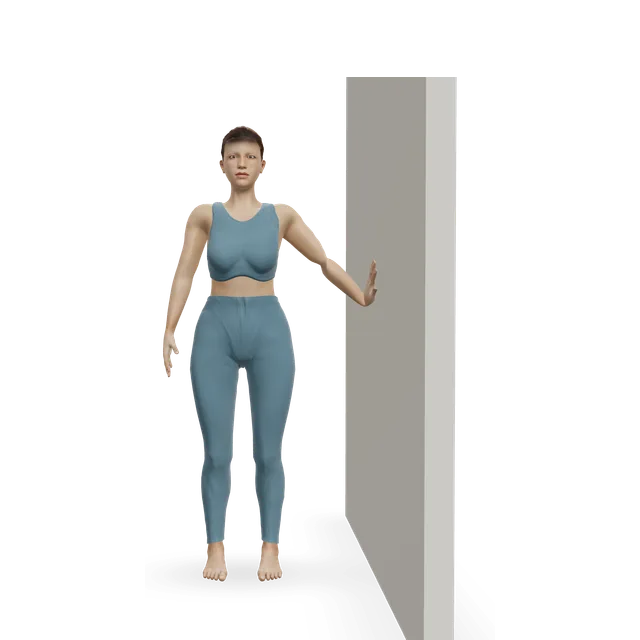
- Standing wall-press hip abduction3 holds of 10 s each sideBeginner · Hip abductors, Glutes, Abs · 3D demoSide-on to the wall, pressing the outside of the knee into it, standing hip levelEasier: Supine isometric hip abduction (belt press)Harder: Lateral band walk
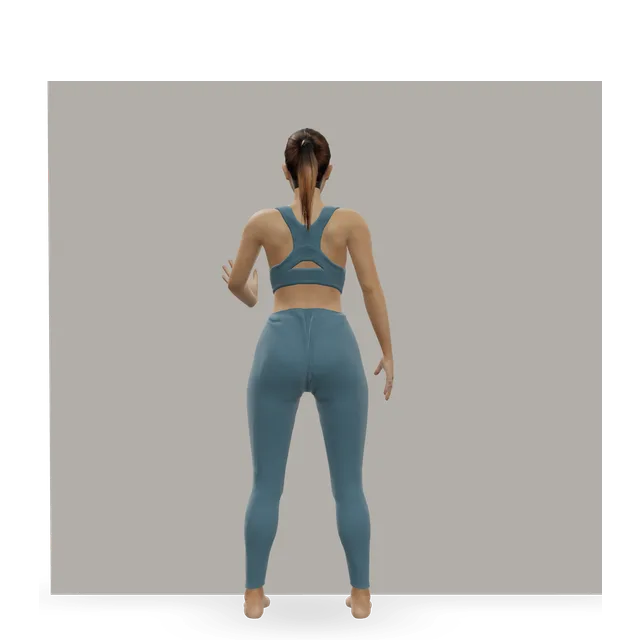
- Beginner · Hip abductors, Glutes, Abs · 3D demoHand on the wall; lift slightly behind your body line without tipping your bodyHarder: Lateral band walk, band at the feet
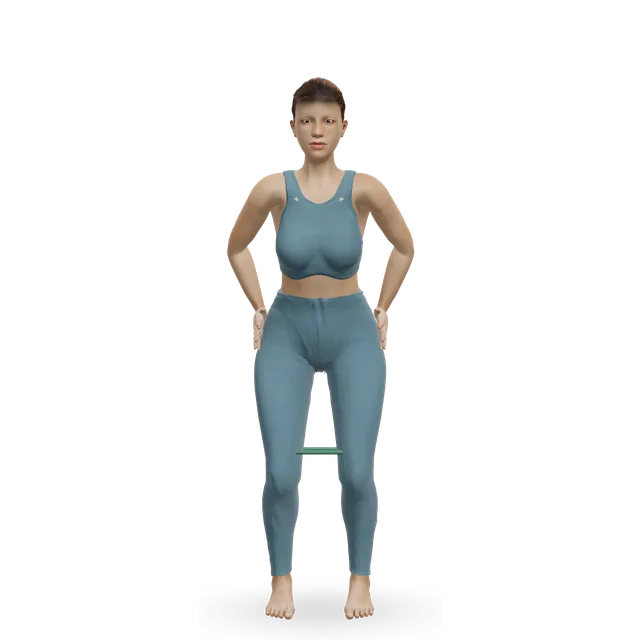
- Lateral band walk10 to 15 steps each wayBeginner · Hip abductors, Glutes, Quads · 3D demoBand above the knees, or none to start; toes pointing forwardEasier: Hip abduction machineHarder: Lateral band walk, band at the feet
- Sit squat (partial squat)10 slow repsBeginner · Quads, Glutes, Hamstrings · 3D demoDown towards a high chair; knees over toesHarder: Bodyweight squat
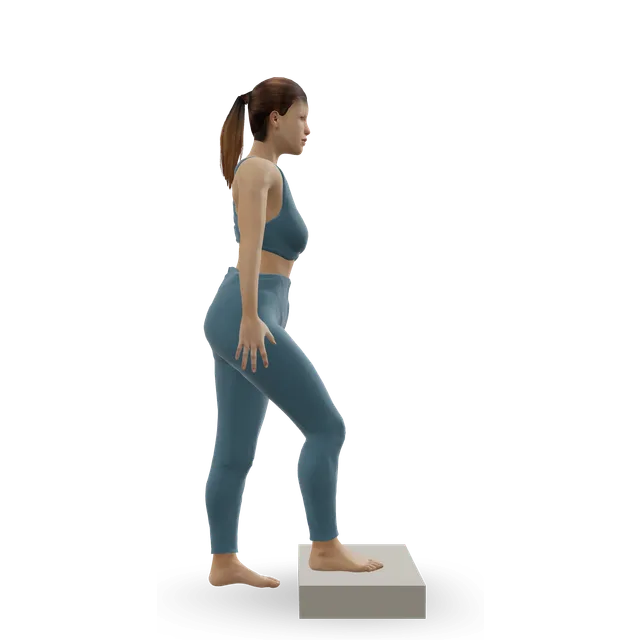
- Low step-up2 sets of 8 each sideBeginner · Quads, Glutes, Hamstrings · 3D demoA low step; keep your pelvis level as you riseHarder: Step-up
- Single-leg stand3 holds of 10 to 30 s each sideBeginner · Hip abductors, Calves, Glutes · 3D demoFingertips on the counter; don't let the standing hip drift outEasier: Tandem stance and heel-to-toe walkHarder: Single-leg reach matrix
- Side-stepping (sideways walking)10 steps each way, next to a counter (the NHS balance exercises).Beginner · Hip abductors, Glutes, Adductors · 3D demoSmall steps along the counter, hips levelHarder: Lateral band walk
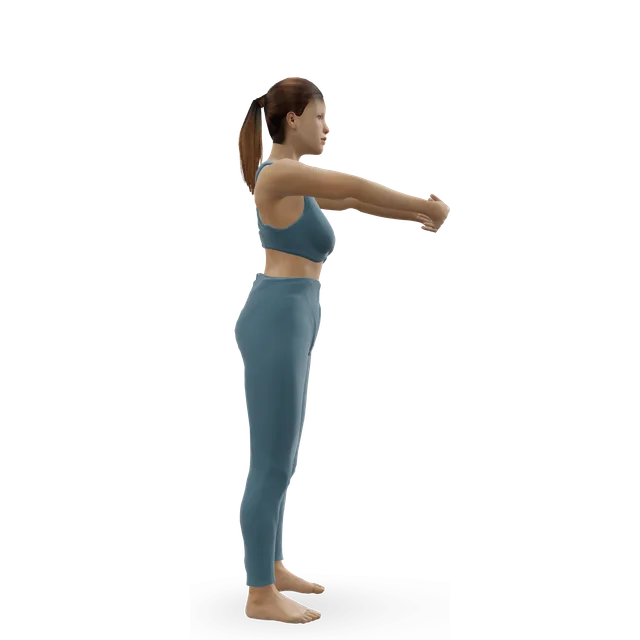
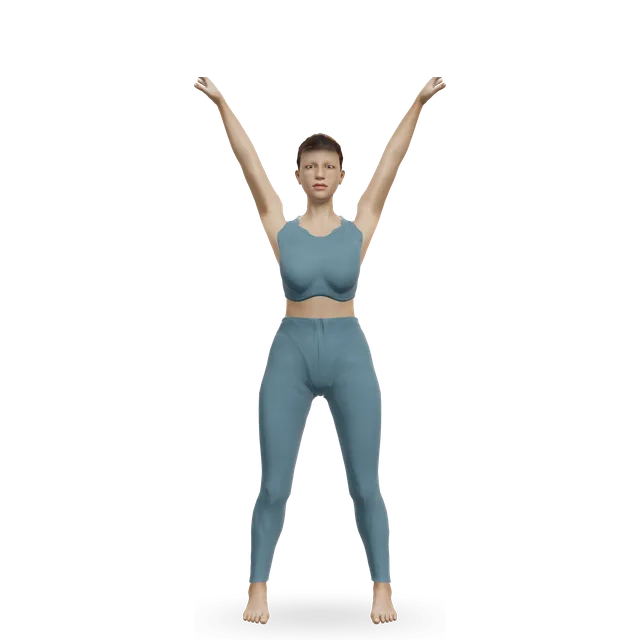
- Breath reach5 breaths, exhale longer than inhaleBeginner · 3D demoStand with your weight even on both feetHarder: Slow breathing (6 breaths a minute)
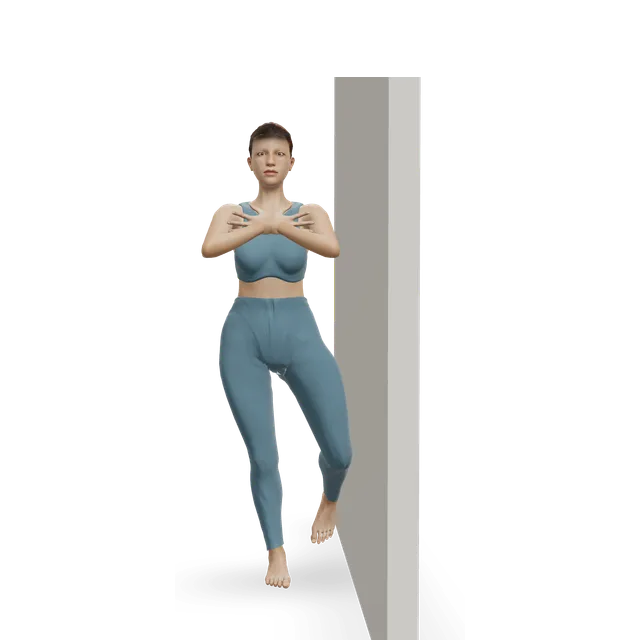
Tips
- Do this class 2 or 3 times a week once the 20-minute hip pain class is easy, and keep the lying and standing presses on other days.
- Don't cross your legs, stand hanging on one hip, or lie on the sore side, in class or at home.
- Give it 8 to 12 weeks before you judge it; recovery can take months.
- Later, add the one-leg bridge and, if it doesn't bring on outer hip pain, a side-lying leg lift on your good side with a pillow between your knees, as our Pilates for hip bursitis guide sets out.
The doses are suggested starting points, not a prescription. Choose a range you can control and stop for sharp or increasing pain, numbness or tingling. Get individual advice after an injury or surgery, or if you are pregnant or managing a health condition.
Guides that recommend it
Find more moves like these
More pilates
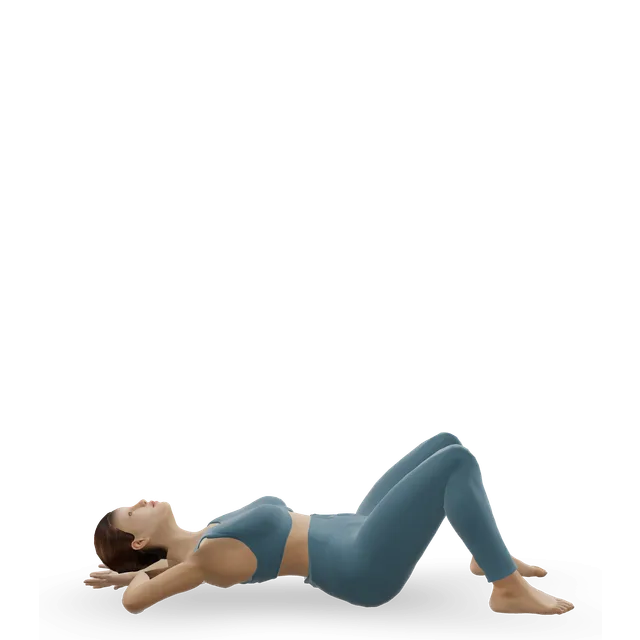
Beginner Pilates workout
A 20-minute mat Pilates workout for complete beginners. It covers breathing, spine position and the foundation moves, each with an easier option.
20 minBeginner13 movesNo equipment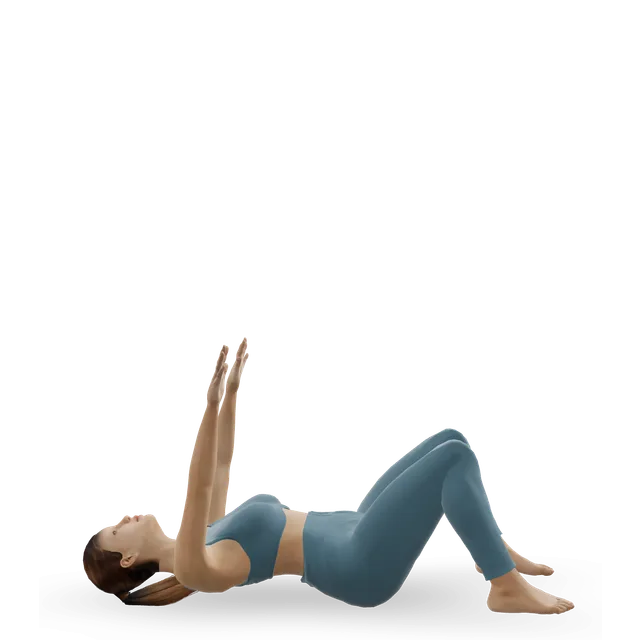
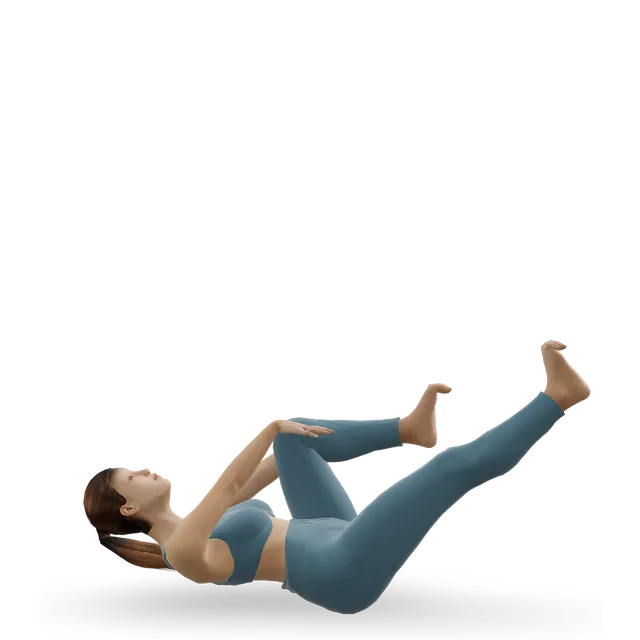
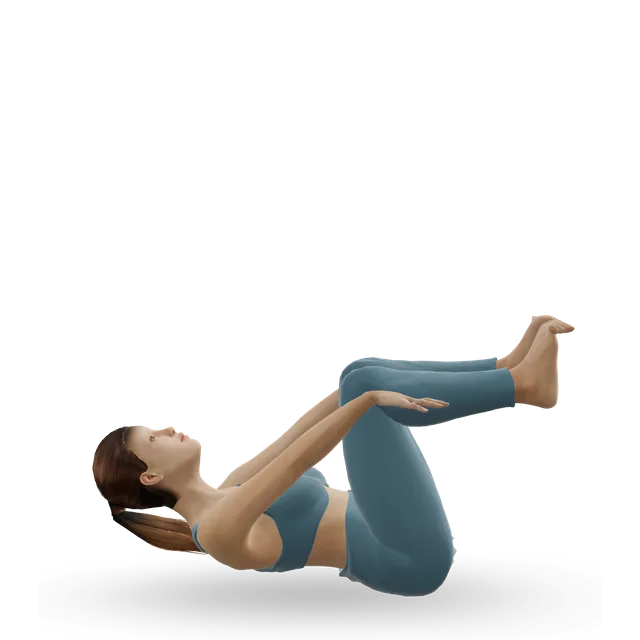
10-minute Pilates abs
Ten minutes of the classic Pilates abdominal series: the hundred, the roll-up and the series of five, with a plank to finish.
10 minIntermediate11 movesNo equipment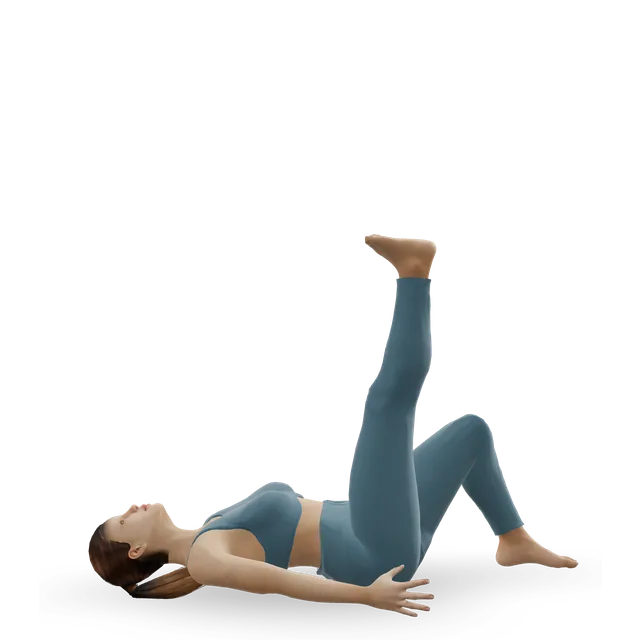
Full-body mat Pilates workout
A 30-minute intermediate mat Pilates class that follows the classical order, from the hundred to the push-up, with prep versions of the hardest moves.
30 minIntermediate22 movesNo equipmentQuestions people ask
How long does the build-stage pilates for hip bursitis: a 25-minute class that loads the side of the hip without squeezing it take?
About 25 minutes, including any warm-up and cool-down listed. Shorten it by doing fewer rounds; lengthen it by adding one.
What equipment do I need?
You need: A band, A wall, A step. Each move links to its guide, where you can find an alternative if you are missing something.
Is it suitable for beginners?
It is written for beginners. 6 of its 15 moves have an easier option listed beside them if you need one.
How do I make it easier or harder?
Use the easier or harder option listed under each move, change the number of rounds, or adjust the rest. Progress one change at a time.