Skill progressions
Dead hang progression workout: supported hangs to 60 seconds
For anyone who wants to hang longer, or is working towards a pull-up. Do the warm-up and the grip block every time, and only your step in between: 2 or 3 short hangs, stepping down a few seconds before your grip would slip. Do it 2 or 3 times a week with a day between. There's no hang time you're meant to reach: the steps follow our move pages, and the doses are our starting point.
Warm-up
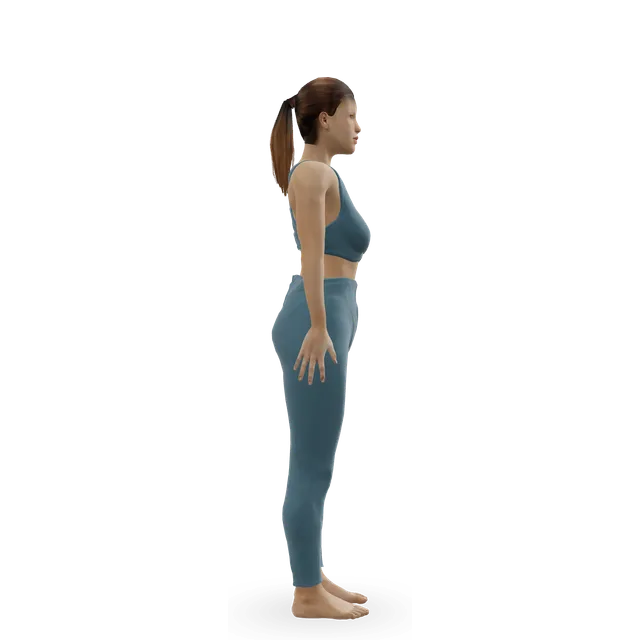
- Shoulder CARs (controlled articular rotations)2 slow circles each way, each armBeginner · Shoulders, Back · 3D demoWithin a range that doesn't pinchEasier: Arm circlesHarder: Sleeper stretch
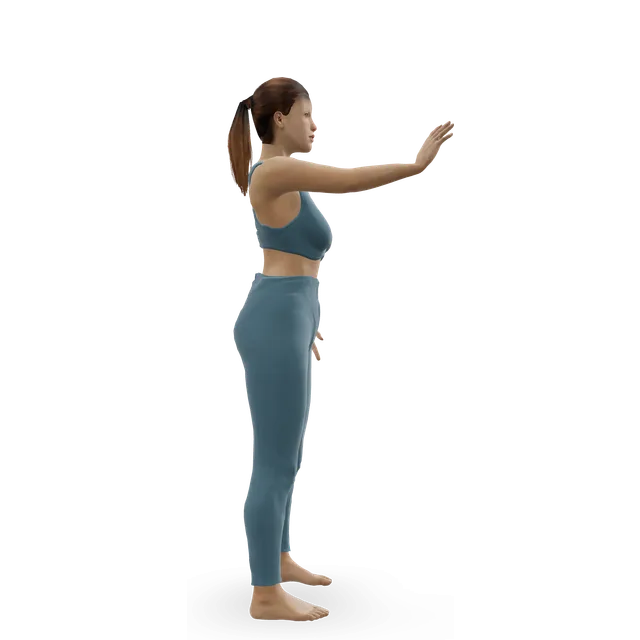
- Beginner · Forearms · 3D demoEasier: Wrist circlesHarder: Wrist flexor stretch
Step 1: supported hang
Rest About 1 min between hangs
- Bar hang2 to 3 holds of 10 to 20 sIntermediate · Forearms, Back, Shoulders · 3D demoFeet on a step, taking a little less weight through them each session. Move on when 3 holds of 20 s need little help from your feetEasier: Incline ring rowHarder: One-arm dead hang
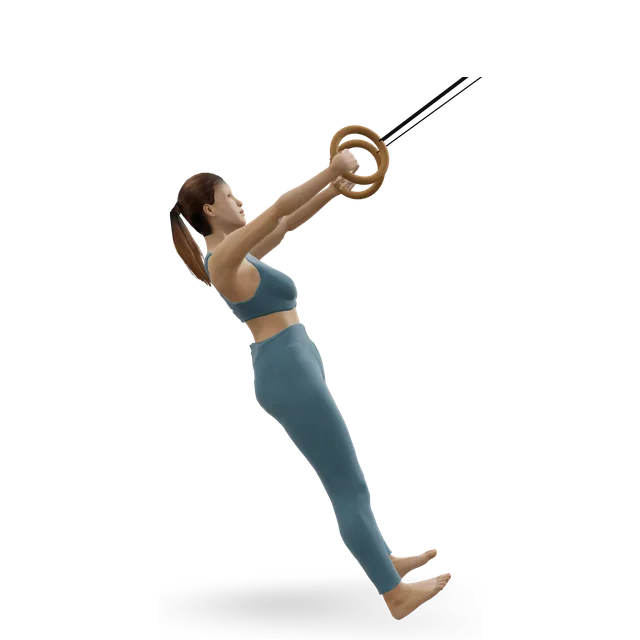
- Incline ring row1 to 2 sets of 8 to 12Beginner · Back, Biceps, Shoulders · 3D demoOr rows under a sturdy table; walk your feet forward to make it harderHarder: Supported single-arm dumbbell row
Step 2: full hang
Rest About 1 min between hangs
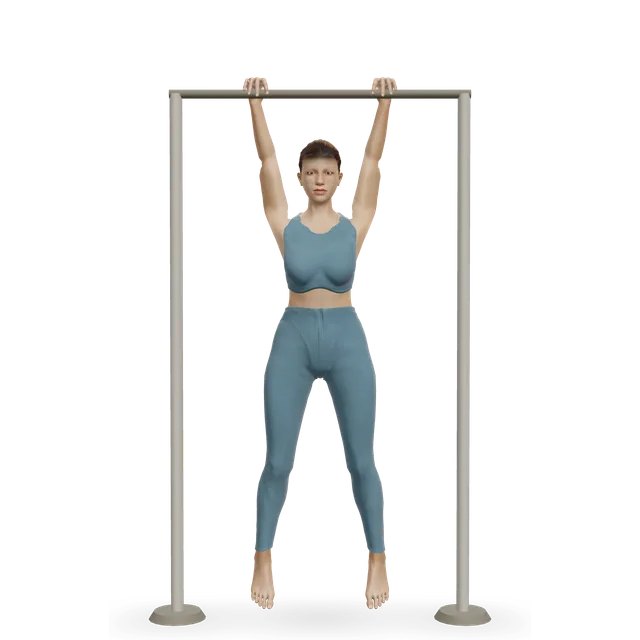
- Bar hang2 or 3 holds of 10 to 20 s, building to 30 sIntermediate · Forearms, Back, Shoulders · 3D demoFeet off the step, arms straight, shoulders drawn down a little. Step down before your grip gives outEasier: Incline ring rowHarder: One-arm dead hang
Step 3: active hangs
Rest About 1 min
- Scapular pull-up2 × 6 to 8Intermediate · Back, Shoulders, Forearms · 3D demoElbows straight; hold the top for a second. Once you can hang for about 20 secondsEasier: Bar hangHarder: Pull-up
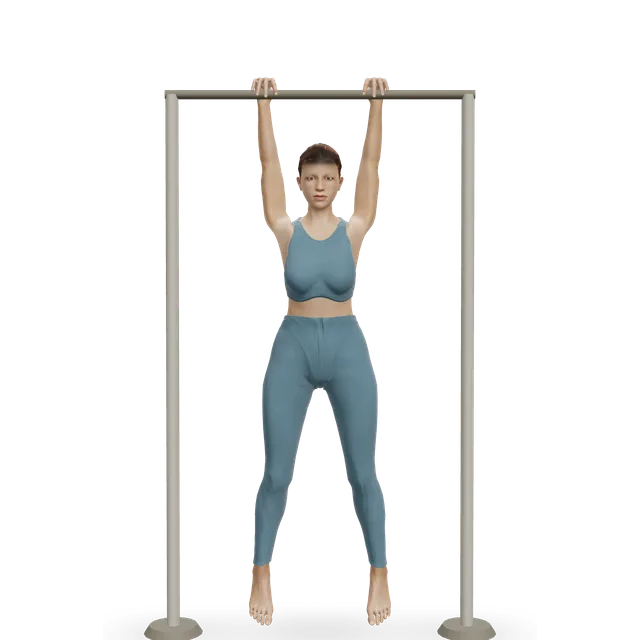
- Bar hang2 × 20 to 30 sIntermediate · Forearms, Back, Shoulders · 3D demoShoulders active, not shruggedEasier: Incline ring rowHarder: One-arm dead hang
Step 4: longer hangs
Rest 1 to 2 min between hangs
- Bar hang3 holds of 30 to 60 sIntermediate · Forearms, Back, Shoulders · 3D demoMix active and relaxed hangs if your shoulders are comfortable; stop when your grip starts to slipEasier: Incline ring rowHarder: One-arm dead hang
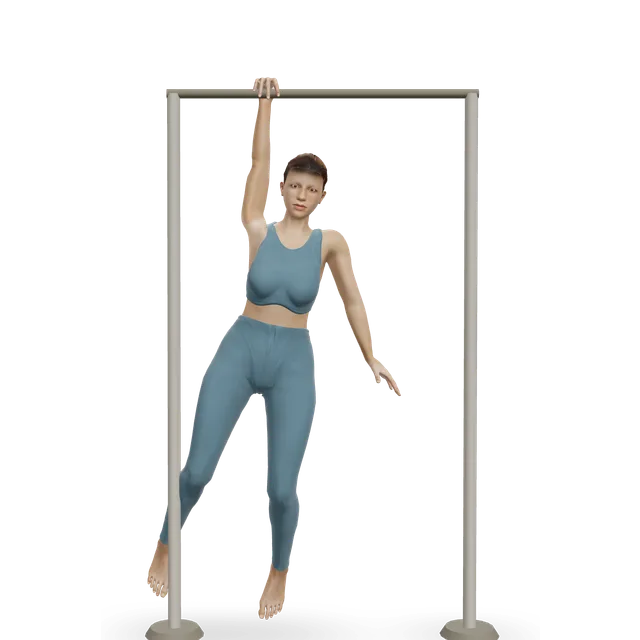
- One-arm dead hangA few holds of 5 to 10 s each side (optional)Expert · Forearms, Back, Shoulders · 3D demoOnly after a relaxed 60-second hang on both hands; other hand ready to take the bar, sides even. Skip it with any elbow or shoulder painEasier: Bar hang
Grip (every step)
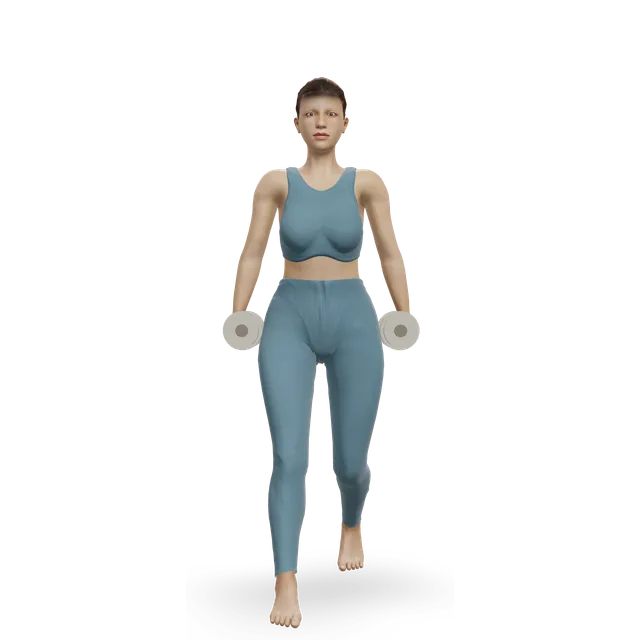
- Farmer's carry2 walks of 20 to 30 mIntermediate · Forearms, Abs, Shoulders · 3D demoHeavy enough that your grip worksHarder: Suitcase carry
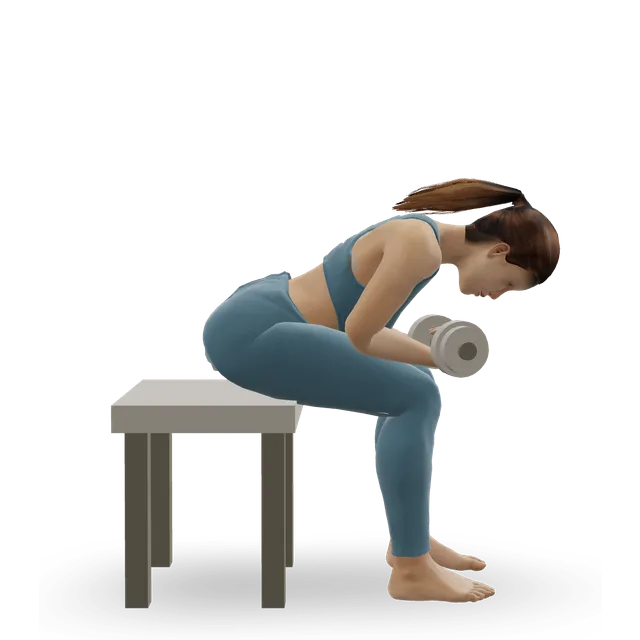
- Wrist curls1 to 2 sets of 12 to 15Beginner · Forearms · 3D demoLight and slowEasier: Wrist-extensor eccentricsHarder: Plate pinch
Cool-down (optional)
- Wrist flexor stretch30 s each sideBeginner · Forearms · 3D demoEasier: Wrist circlesHarder: Quadruped wrist rocks
Tips
- Two or three times a week, with a day between. Do it at the start of your session, or as grip work at the end; don't hang to failure before pull-ups.
- Move up a step when the top of your step feels steady with a few seconds to spare. About 20 seconds unlocks scapular pull-ups, 30 seconds is the base for front and back lever work, and a relaxed 60 seconds comes before one-arm hangs.
- Keep breathing slowly through every hang. Holding your breath with a hard grip pushes your blood pressure up. With blood pressure of 160/100 or higher that isn't yet treated, keep hangs short and easy.
- Test a doorway bar before you trust it, keep a step under the bar, and step down rather than dropping: falls cause most pull-up bar injuries.
- Leave hangs out after a recent shoulder dislocation, or if a shoulder feels loose or slips when you hang. With tennis or golfer's elbow, add hangs once carrying weights is comfortable, and keep elbow discomfort to about 3 to 4 out of 10, settled by the next morning.
- Stop if your fingers tingle or go numb, or you feel faint or dizzy.
- Hanging won't fix back pain or posture. Back pain spreading down a leg: see our sciatica guide.
The doses are suggested starting points, not a prescription. Choose a range you can control and stop for sharp or increasing pain, numbness or tingling. Get individual advice after an injury or surgery, or if you are pregnant or managing a health condition.
Guides that recommend it
Find more moves like these
More skill progressions
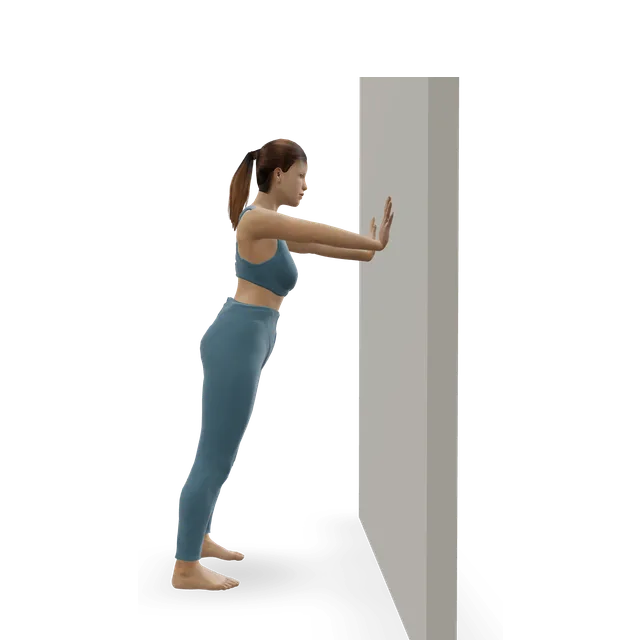
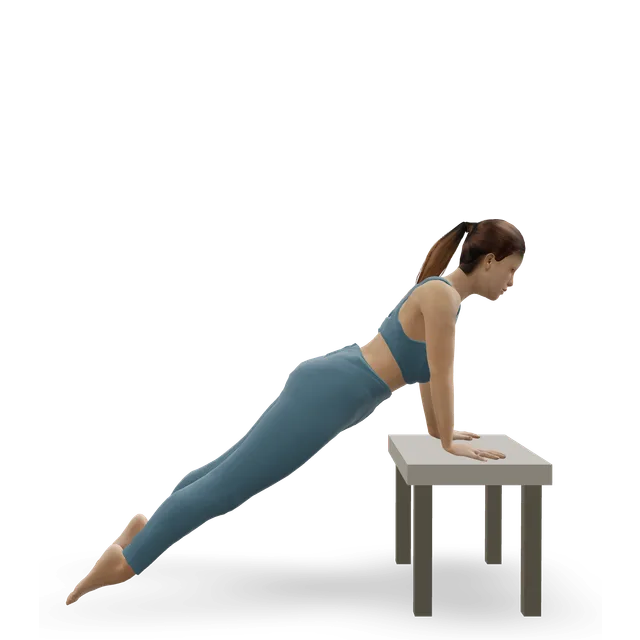
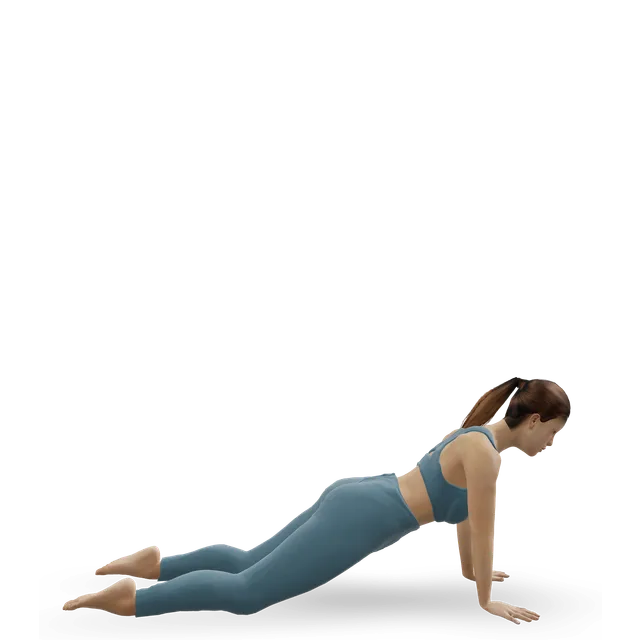
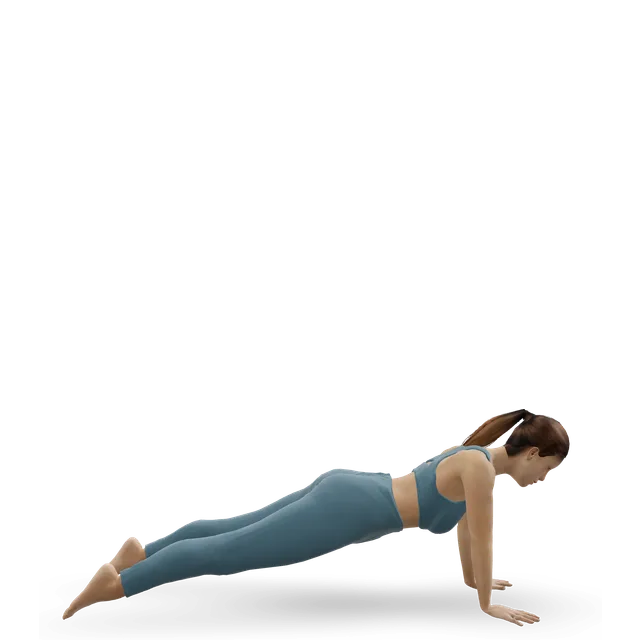
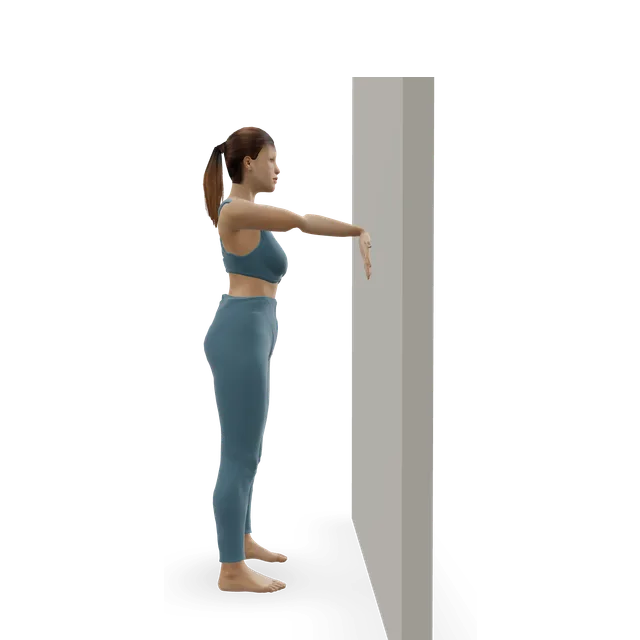
Push-up progression workout
Work up to full push-ups: wall, incline and knee push-ups, then the floor push-up and harder variations.
15 minBeginner8 movesA wall, A bench or box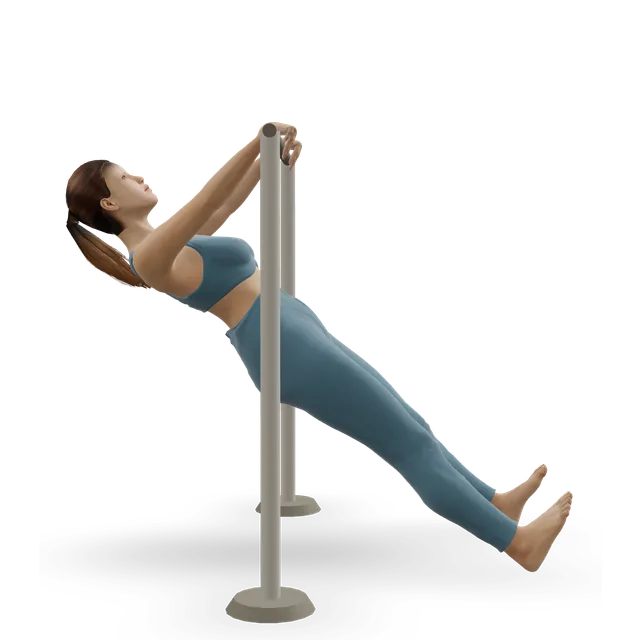
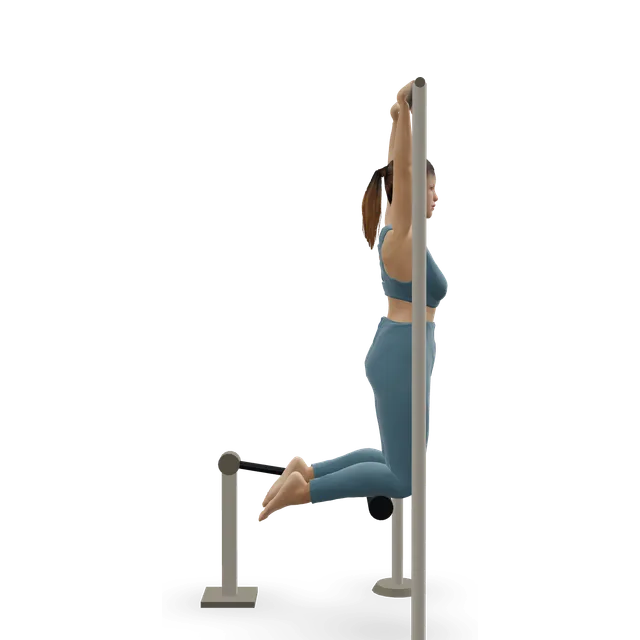
Pull-up progression workout
Work up to your first pull-up: dead hangs, scapular pulls, rows, negatives and assisted pull-ups.
25 minBeginner7 movesPull-up bar, A step
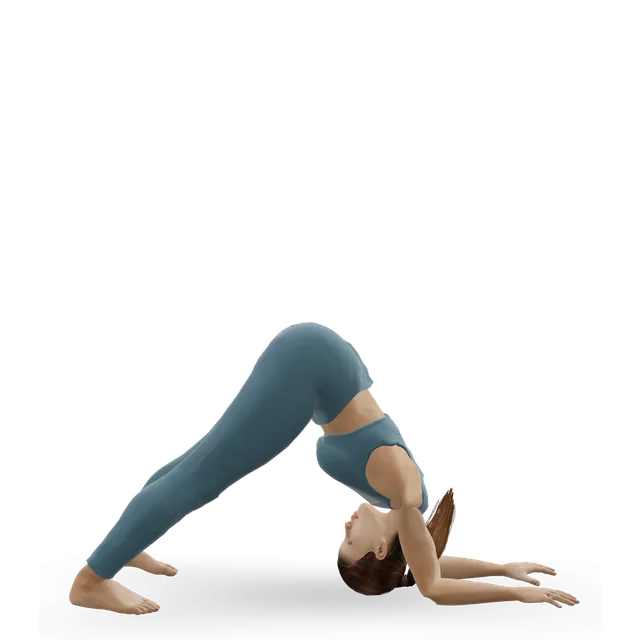
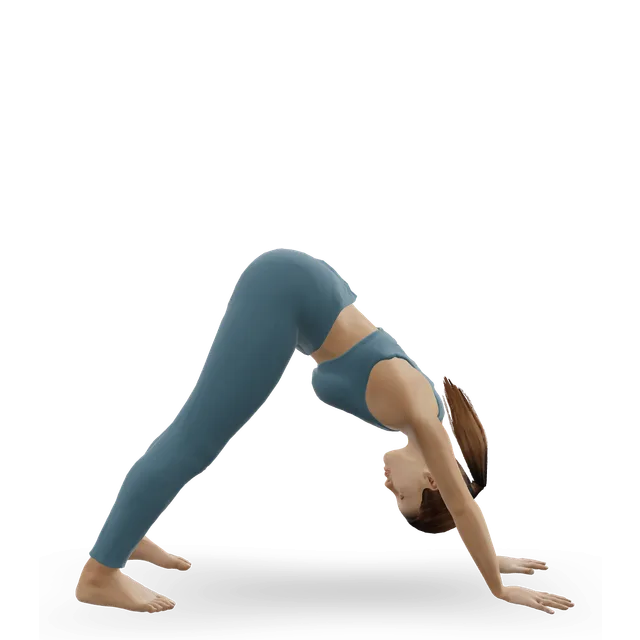
Handstand progression
Build toward a handstand: wrist prep, dolphin pose, pike push-ups, crow, the wall handstand and freestanding holds.
25 minAdvanced9 movesA wallQuestions people ask
How long does the dead hang progression workout: supported hangs to 60 seconds take?
About 20 minutes, including any warm-up and cool-down listed. Shorten it by doing fewer rounds; lengthen it by adding one.
What equipment do I need?
You need: Pull-up bar, A step, Gymnastic rings, A dumbbell, A kettlebell, A wall. Each move links to its guide, where you can find an alternative if you are missing something.
Is it suitable for beginners?
It is written for beginners. 7 of its 9 moves have an easier option listed beside them if you need one.
How do I make it easier or harder?
Use the easier or harder option listed under each move, change the number of rounds, or adjust the rest. Progress one change at a time.