Yoga flows
Low-impact yoga for lipoedema (lipedema): a 25-minute class for leg and hip strength, sitting, at a chair and on a padded floor, with no kneeling, no jumping and your legs raised to rest
A 25-minute low-impact yoga class for lipoedema (lipedema in the US) that works on leg and hip strength. You start sitting with breathing and calf work, move to standing poses and strength moves at a chair or wall, then to strength work on a padded floor, and finish resting with your legs raised. There is no kneeling and no jumping. Wear your compression garment if you've been given one, pad the floor and anything you lie on, and skip or swap any move that brings on pain or bruising. The class won't change the shape of your legs; it's for strength, comfort and moving with confidence. No trial has tested yoga in lipoedema, so the order and timings are our editorial choice.
Settle, sitting (about 4 minutes)
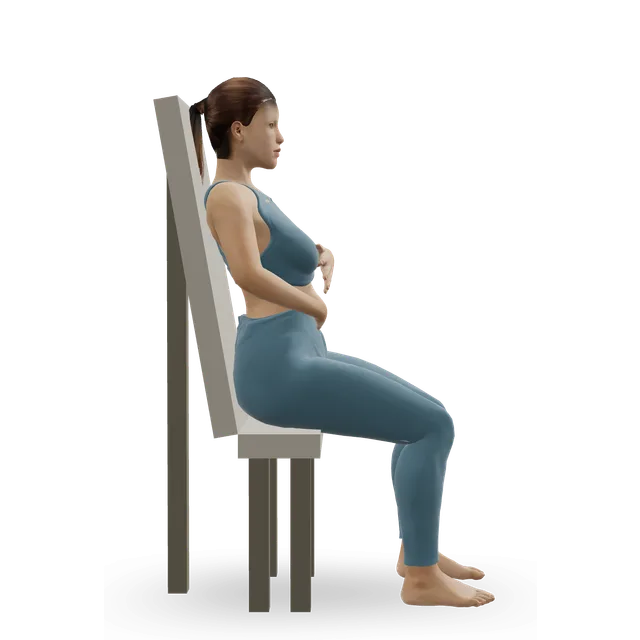
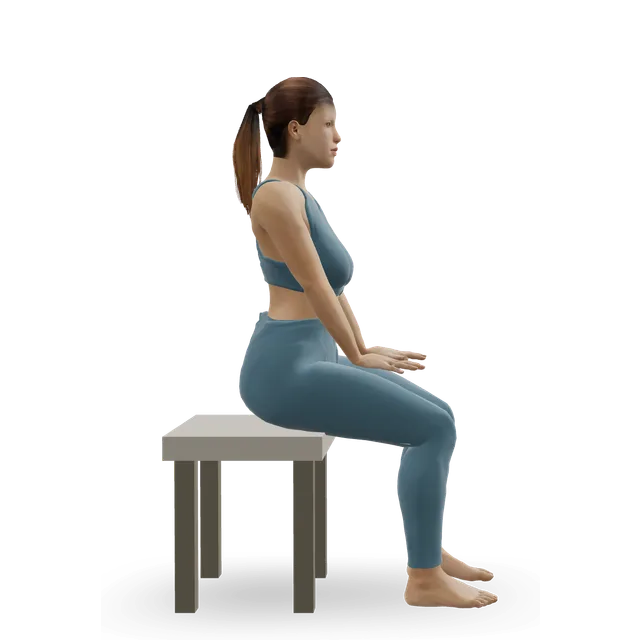
- Beginner · 3D demoSitting tall. In for about 4, out for about 6, no holdsEasier: Breath reachHarder: Crocodile breathing (prone diaphragmatic breathing)
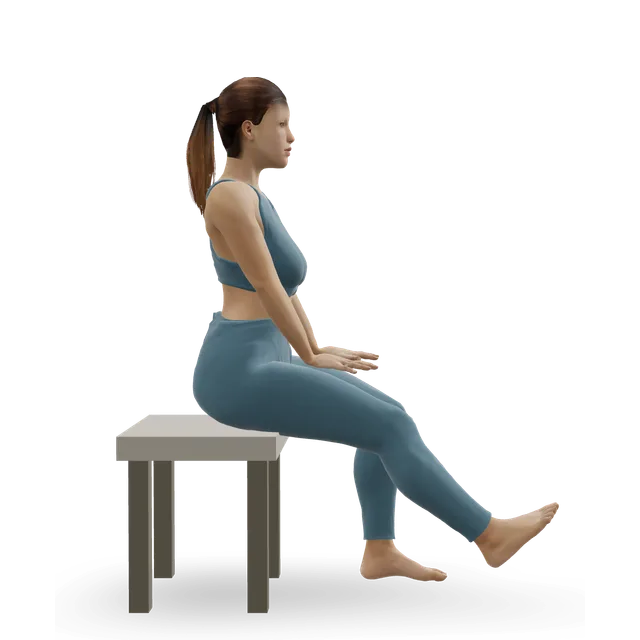
- Ankle circles10 pumps, then 5 circles each wayBeginner · Calves, Shins · 3D demoLegs resting on a cushion or stool; point your toes away, then pull them towards your shinsHarder: Ankle CARs (controlled articular rotations)
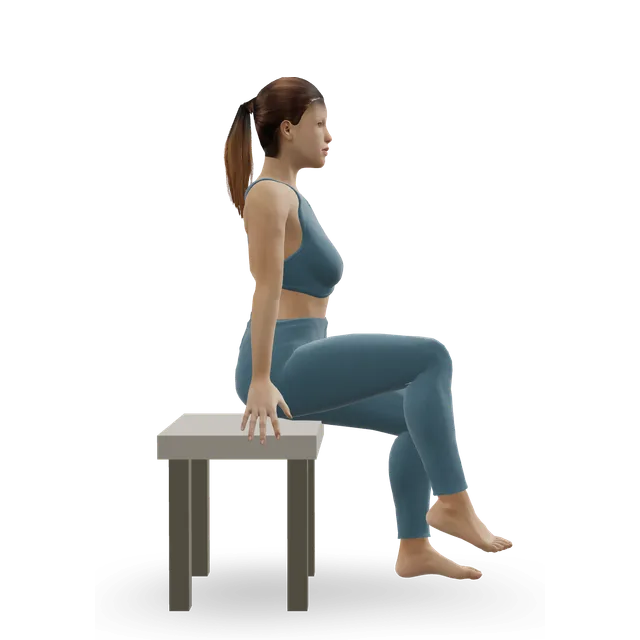
- Seated march1 minBeginner · Hip flexors, Quads, Abs · 3D demoSit tall and march your kneesHarder: Standing march
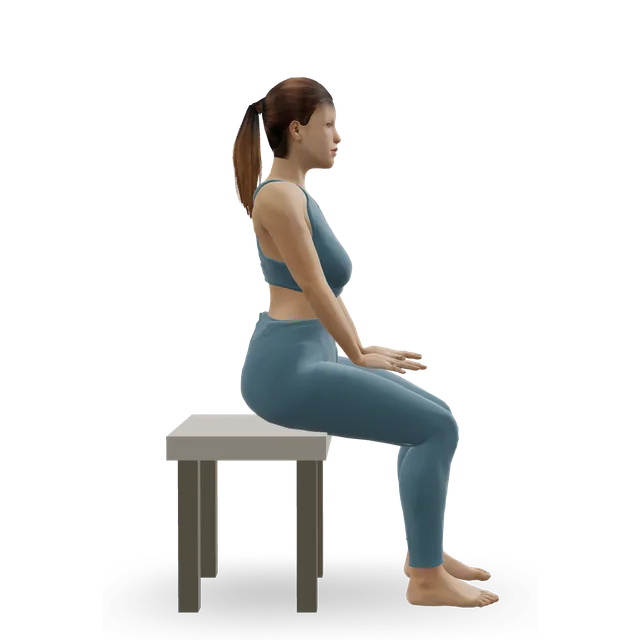
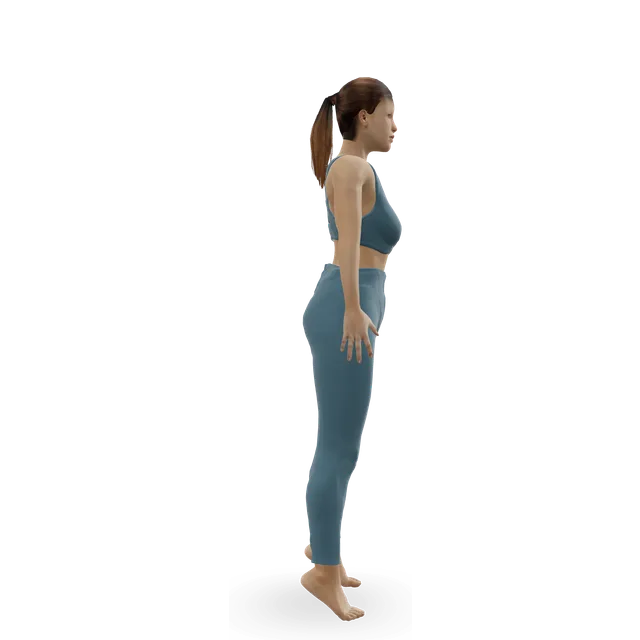
- Beginner · Calves · 3D demoLift both heels as high as you can, then lower slowlyHarder: Slow calf raise
Standing strength at a chair or wall (about 10 minutes)
- Sit to stand from a chair2 sets of 8Beginner · Quads, Glutes, Hamstrings · 3D demoA sturdy chair; push on the arms or your thighs to start if you need toEasier: Sit to stand, pushing on the thighsHarder: Bodyweight squat
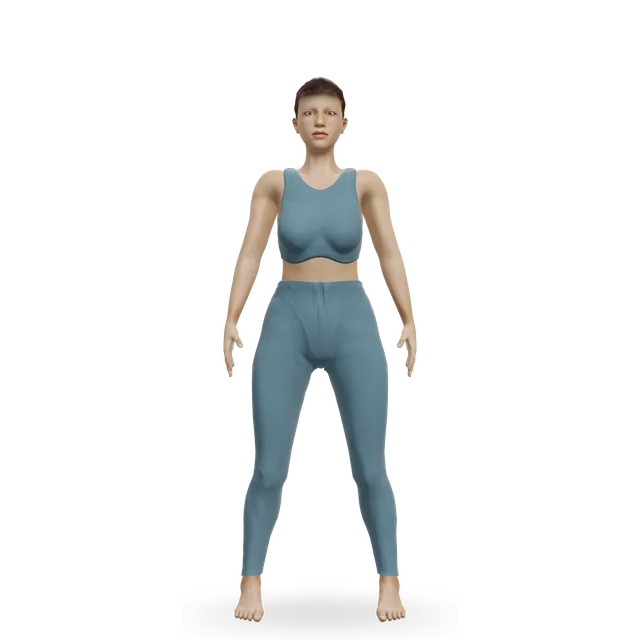
- Mountain pose (Tadasana)5 slow breathsBeginner · Calves, Back, Abs · 3D demoA hand on the chair back; weight spread through both feetHarder: Tree pose (Vrksasana)
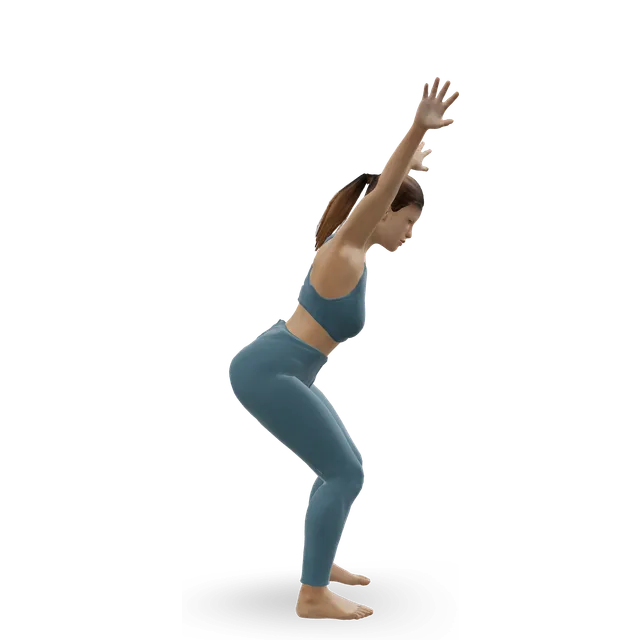
- Chair pose (Utkatasana)3 holds of 20 to 30 sBeginner · Quads, Glutes, Shoulders · 3D demoSit back as if onto a tall stool, weight in your heels. Rest between holdsHarder: Revolved chair pose (Parivrtta Utkatasana)
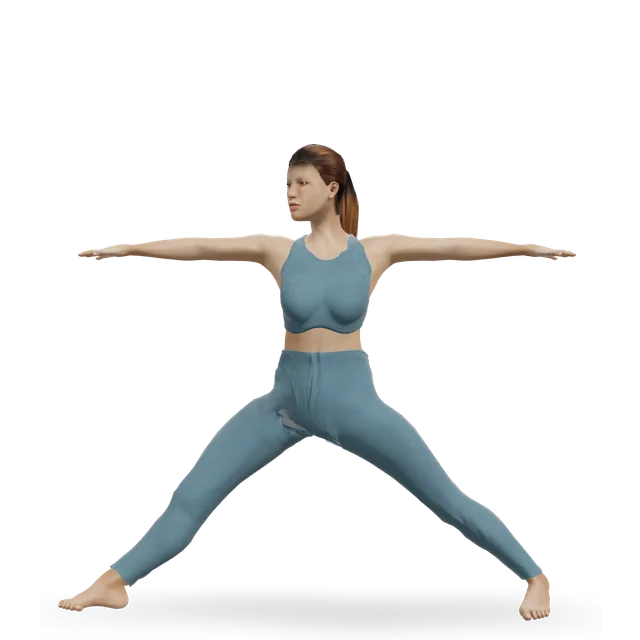
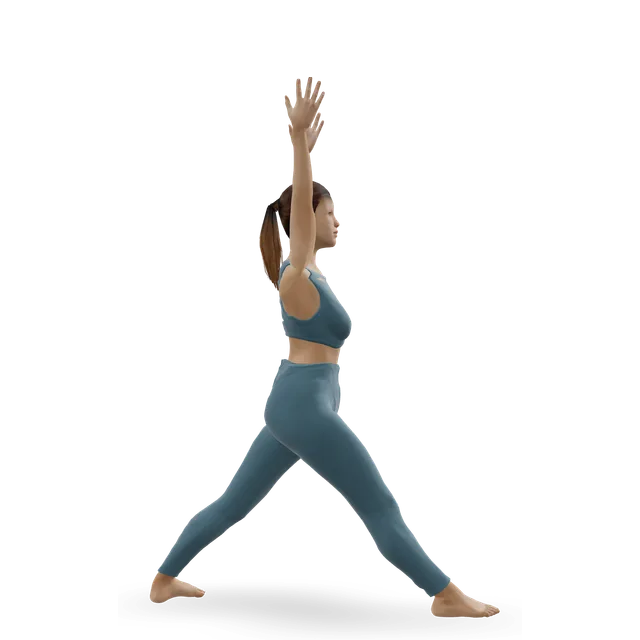
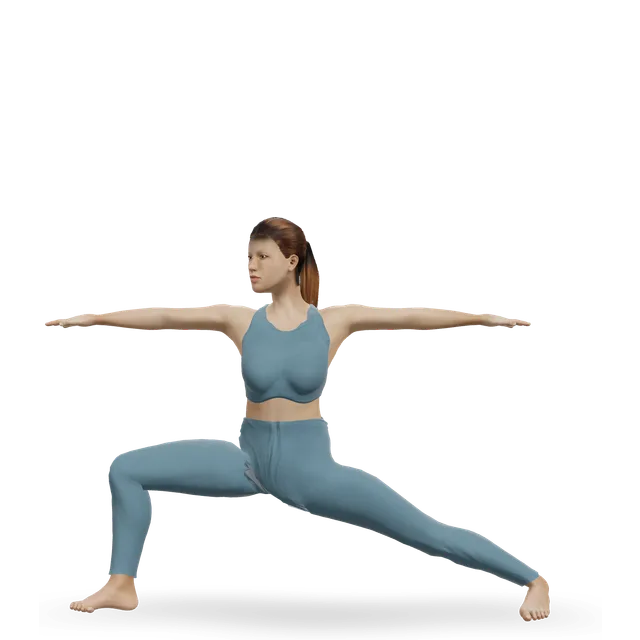
- Warrior II (Virabhadrasana II)5 breaths each sideIntermediate · Quads, Glutes, Adductors · 3D demoA short stance, front knee over your second toe; a chair under your front thigh if it tiresEasier: Chair pose (Utkatasana)Harder: Extended side angle (Utthita Parsvakonasana)
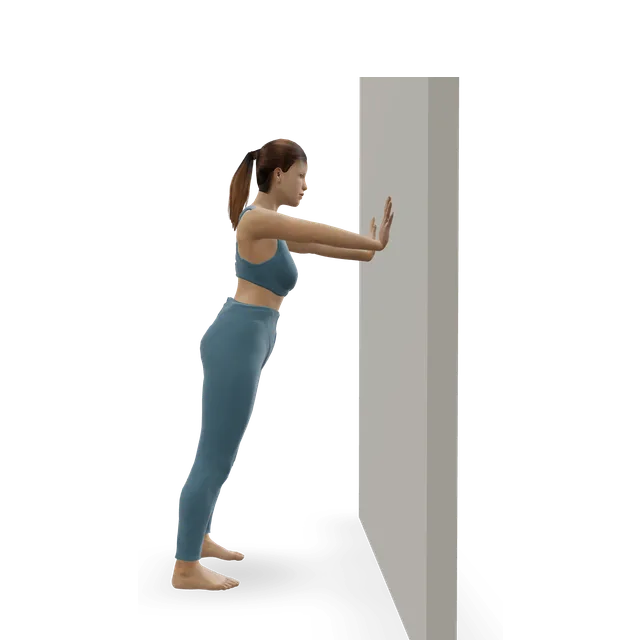
- Slow calf raise2 sets of 10Beginner · Calves · 3D demoA hand on the wall; up for 2, down for 3Easier: Seated bent-knee calf raise (soleus raise)Harder: Standing dumbbell calf raise
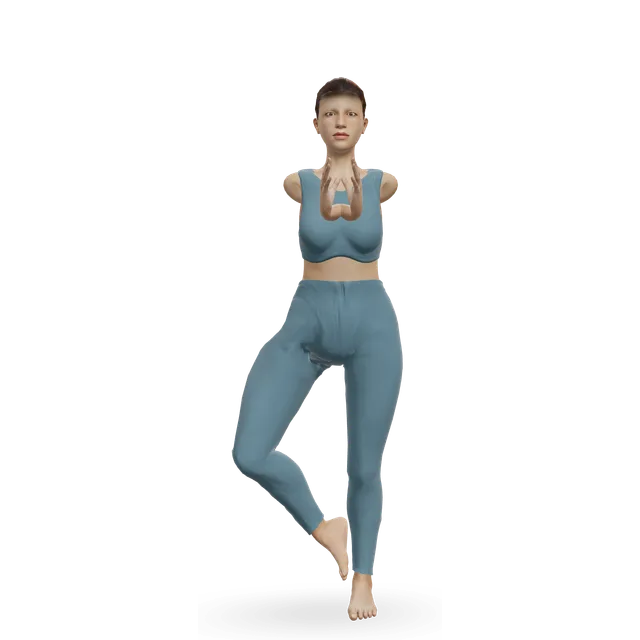
- Tree pose (Vrksasana)30 s each sideBeginner · Glutes, Hip abductors, Calves · 3D demoFingertips on a wall; foot on your ankle or calf, never pressed into the side of your kneeEasier: Mountain pose (Tadasana)Harder: Standing hand-to-big-toe pose (Utthita Hasta Padangusthasana)
Floor, padded (about 7 minutes)
- Glute bridge2 sets of 8Beginner · Glutes, Hamstrings, Abs · 3D demoFeet hip-width apart; lift and lower slowly, moving rather than held. On a bed if getting down is hardEasier: Pelvic tilt into bridgeHarder: Single-leg glute bridge
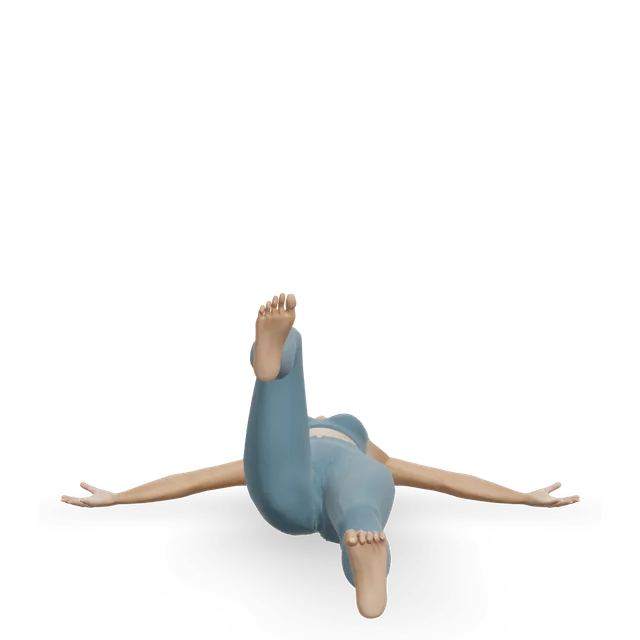
- Supine heel slide8 each sideBeginner · Hip flexors, Hamstrings, Quads · 3D demoSlide the heel away and backHarder: Hip windshield wipers
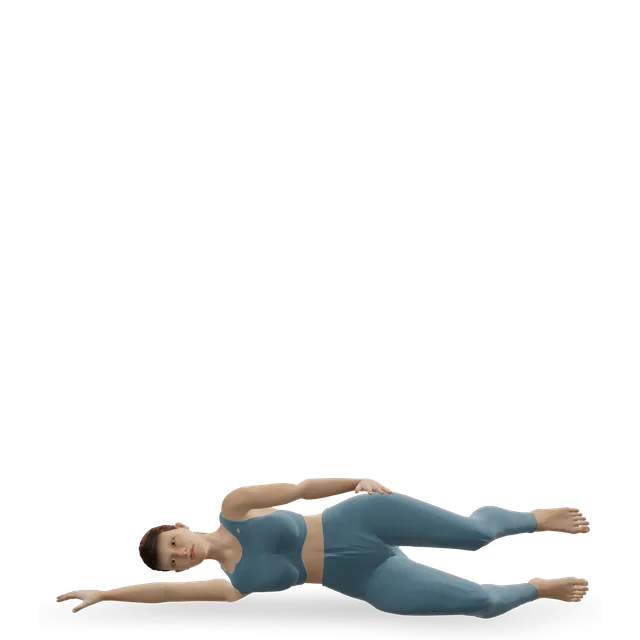
- Clamshell2 sets of 8 each sideBeginner · Hip abductors, Glutes · 3D demoA pillow under your head and between your knees; pad the hip you lie on, or swap to the wall side leg liftEasier: Supine isometric hip abduction (belt press)Harder: Lateral band walk
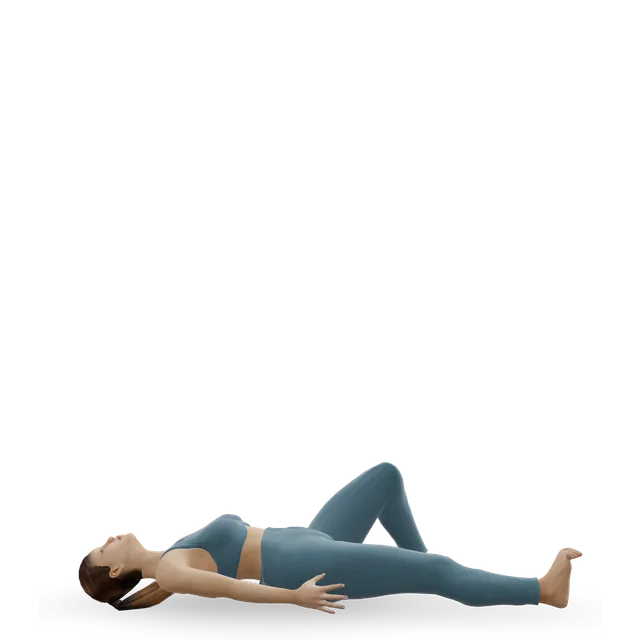
- Supine spinal twist (Supta Matsyendrasana)45 s each sideBeginner · Back, Glutes · 3D demoKnees on a cushion; a small twistHarder: Seated twist, bottom leg straight
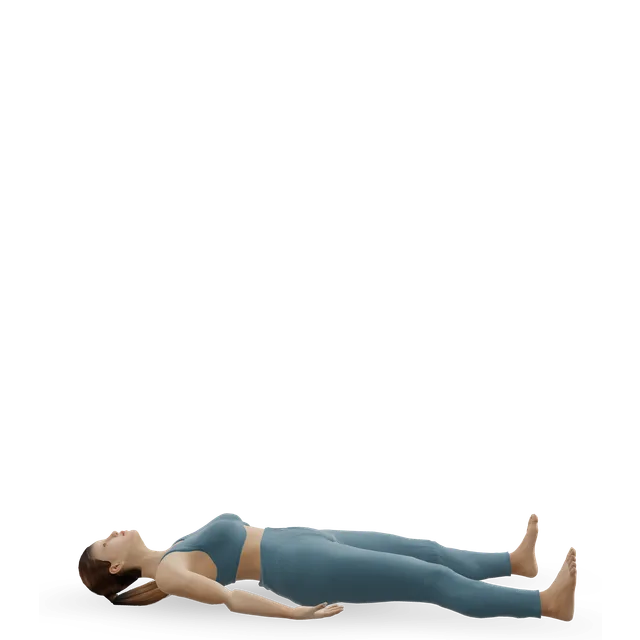
Rest with your legs raised (about 4 minutes)
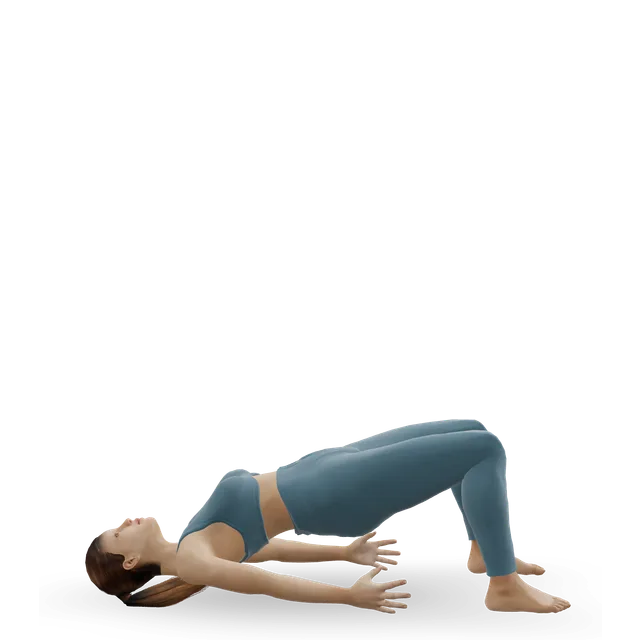
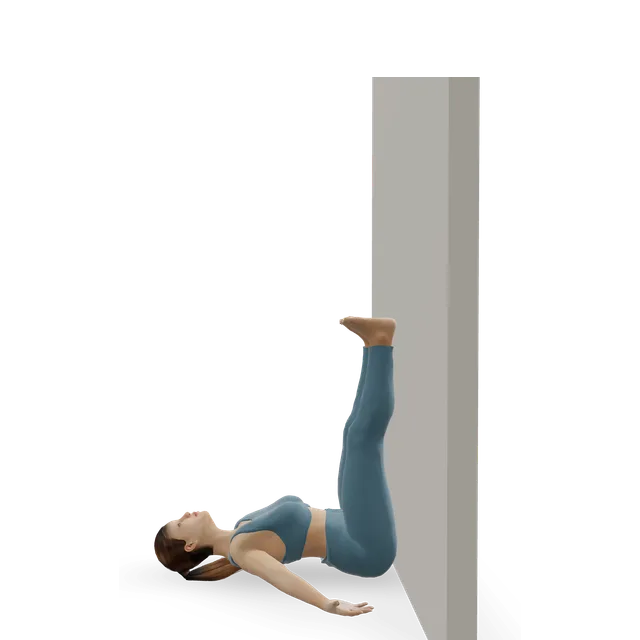
- Beginner · Hamstrings, Calves · 3D demoOr rest your calves on a chair seat or cushions. For comfort, not drainage. Skip it with glaucoma; with high blood pressure that isn't controlled, keep your hips on the floorHarder: Plow pose (Halasana)
- Beginner · 3D demoA cushion under your knees; roll to your side to get up
Tips
- Wear your compression garment for the class if you have one. If it causes numbness, tingling, bruising or blistering, take it off and contact the GP or clinician who prescribed it.
- If anything brings on pain or bruising, swap it for something gentler. Pad the floor, and keep blocks, straps and bands off tender areas (our suggestion).
- Try it 2 or 3 times a week, with walking, cycling or water exercise on most other days (our suggestion, following our exercise for lipoedema guide).
- A red, hot, painful leg with flu-like symptoms, or new swelling, pain or redness in one leg, needs urgent advice: see the warning signs on our yoga for lipoedema guide.
The doses are suggested starting points, not a prescription. Choose a range you can control and stop for sharp or increasing pain, numbness or tingling. Get individual advice after an injury or surgery, or if you are pregnant or managing a health condition.
Guides that recommend it
Find more moves like these
More yoga flows
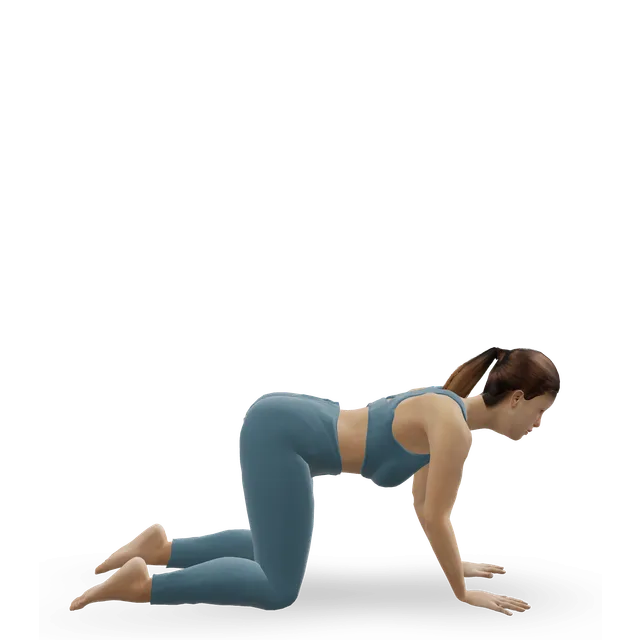
Beginner yoga flow
A 20-minute beginner yoga sequence: mountain, chair, warrior II, triangle, tree, down dog, cobra and child's pose.
20 minBeginner11 movesStep
Sun salutation flow
A 20-minute flow built on sun salutations A and B, with warrior poses and a short cool-down.
20 minIntermediate8 movesNo equipment
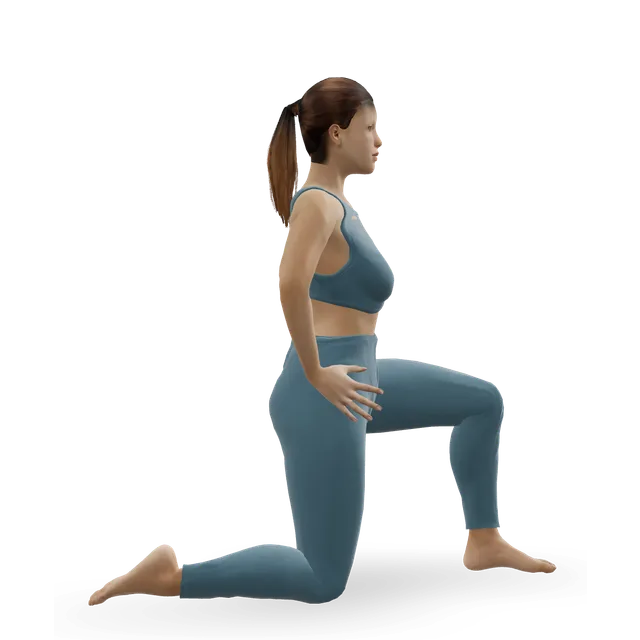
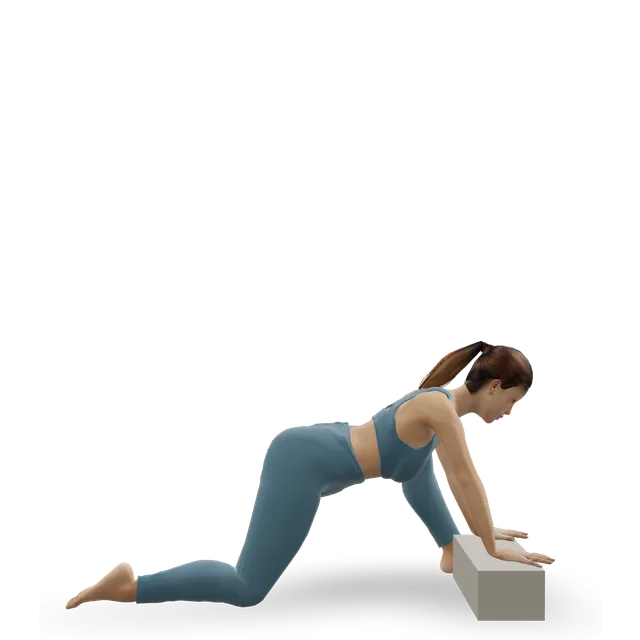
Yoga for tight hips
A hip-opening yoga sequence: low lunge, lizard, goddess, pigeon, bound angle and happy baby.
25 minBeginner10 movesWallQuestions people ask
How long does the low-impact yoga for lipoedema (lipedema): a 25-minute class for leg and hip strength, sitting, at a chair and on a padded floor, with no kneeling, no jumping and your legs raised to rest take?
About 25 minutes, including any warm-up and cool-down listed. Shorten it by doing fewer rounds; lengthen it by adding one.
What equipment do I need?
You need: A bench or box, A wall. Each move links to its guide, where you can find an alternative if you are missing something.
Is it suitable for beginners?
It is written for beginners. 7 of its 17 moves have an easier option listed beside them if you need one.
How do I make it easier or harder?
Use the easier or harder option listed under each move, change the number of rounds, or adjust the rest. Progress one change at a time.